Click here for Video
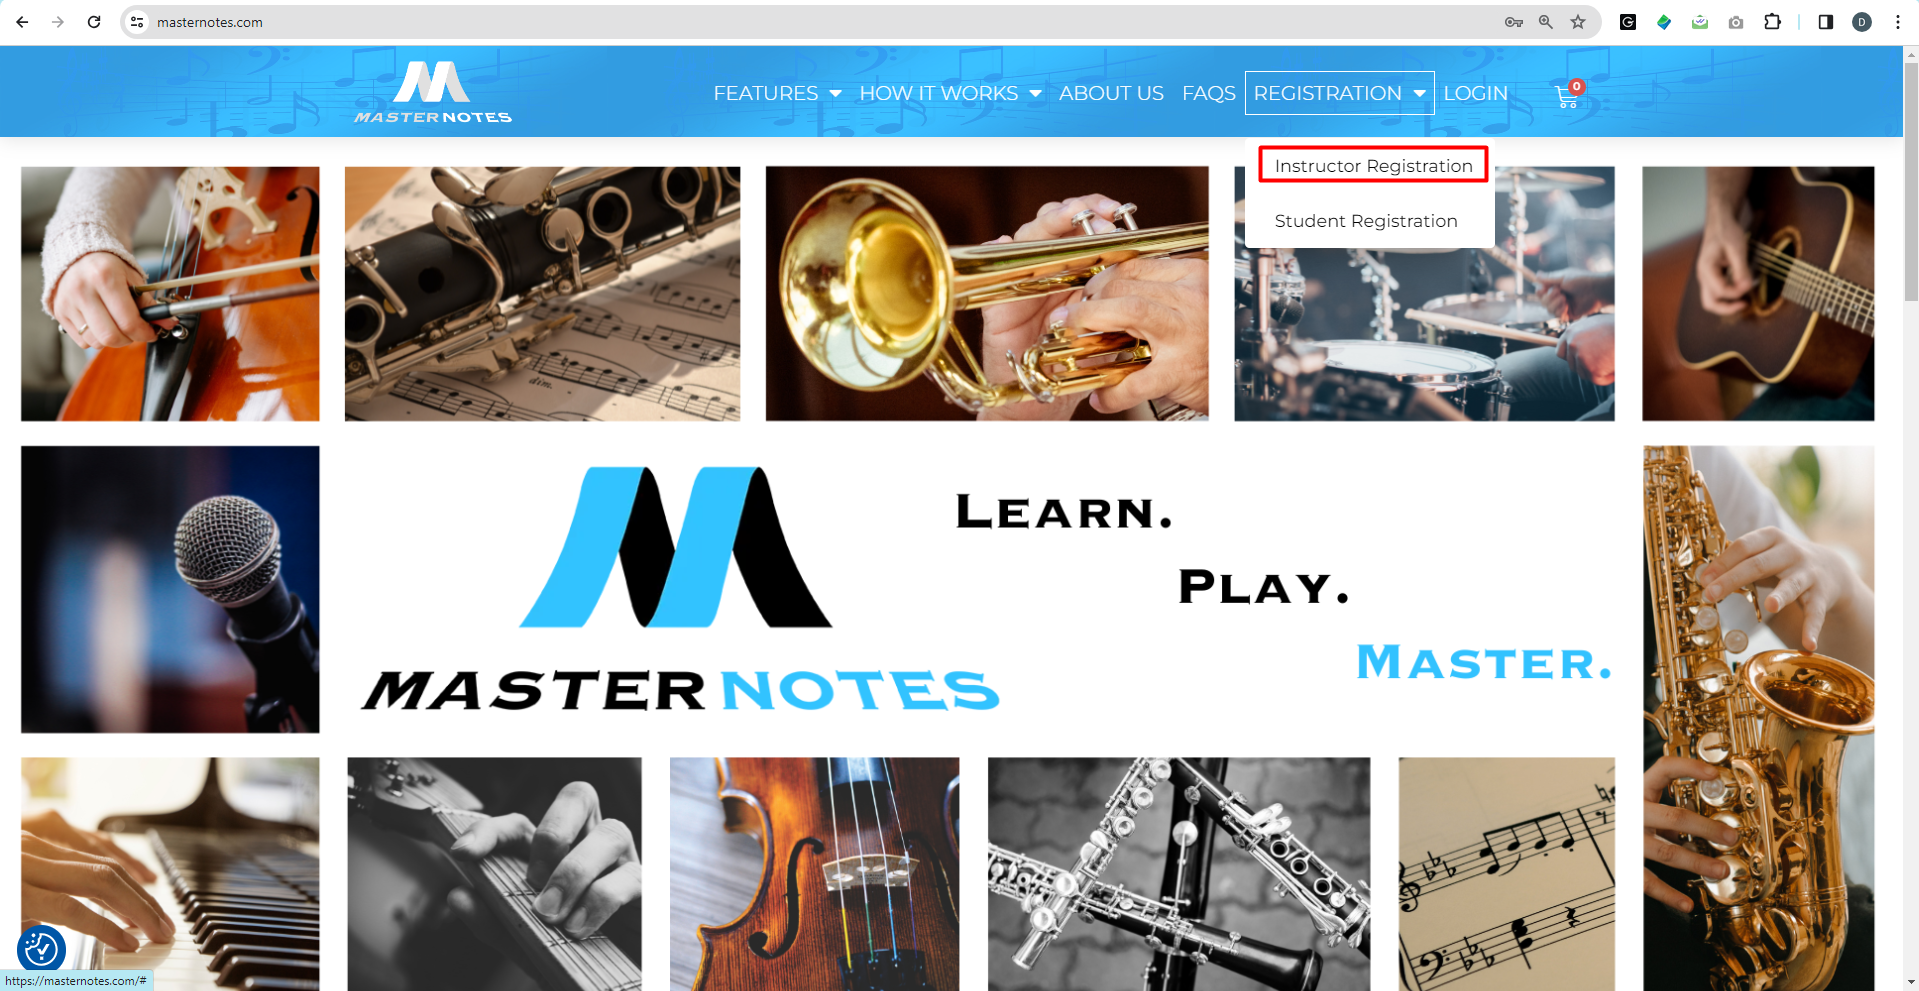
Step 1 : Click on Registration button and select Instructor Registration tab to register as a instructor.
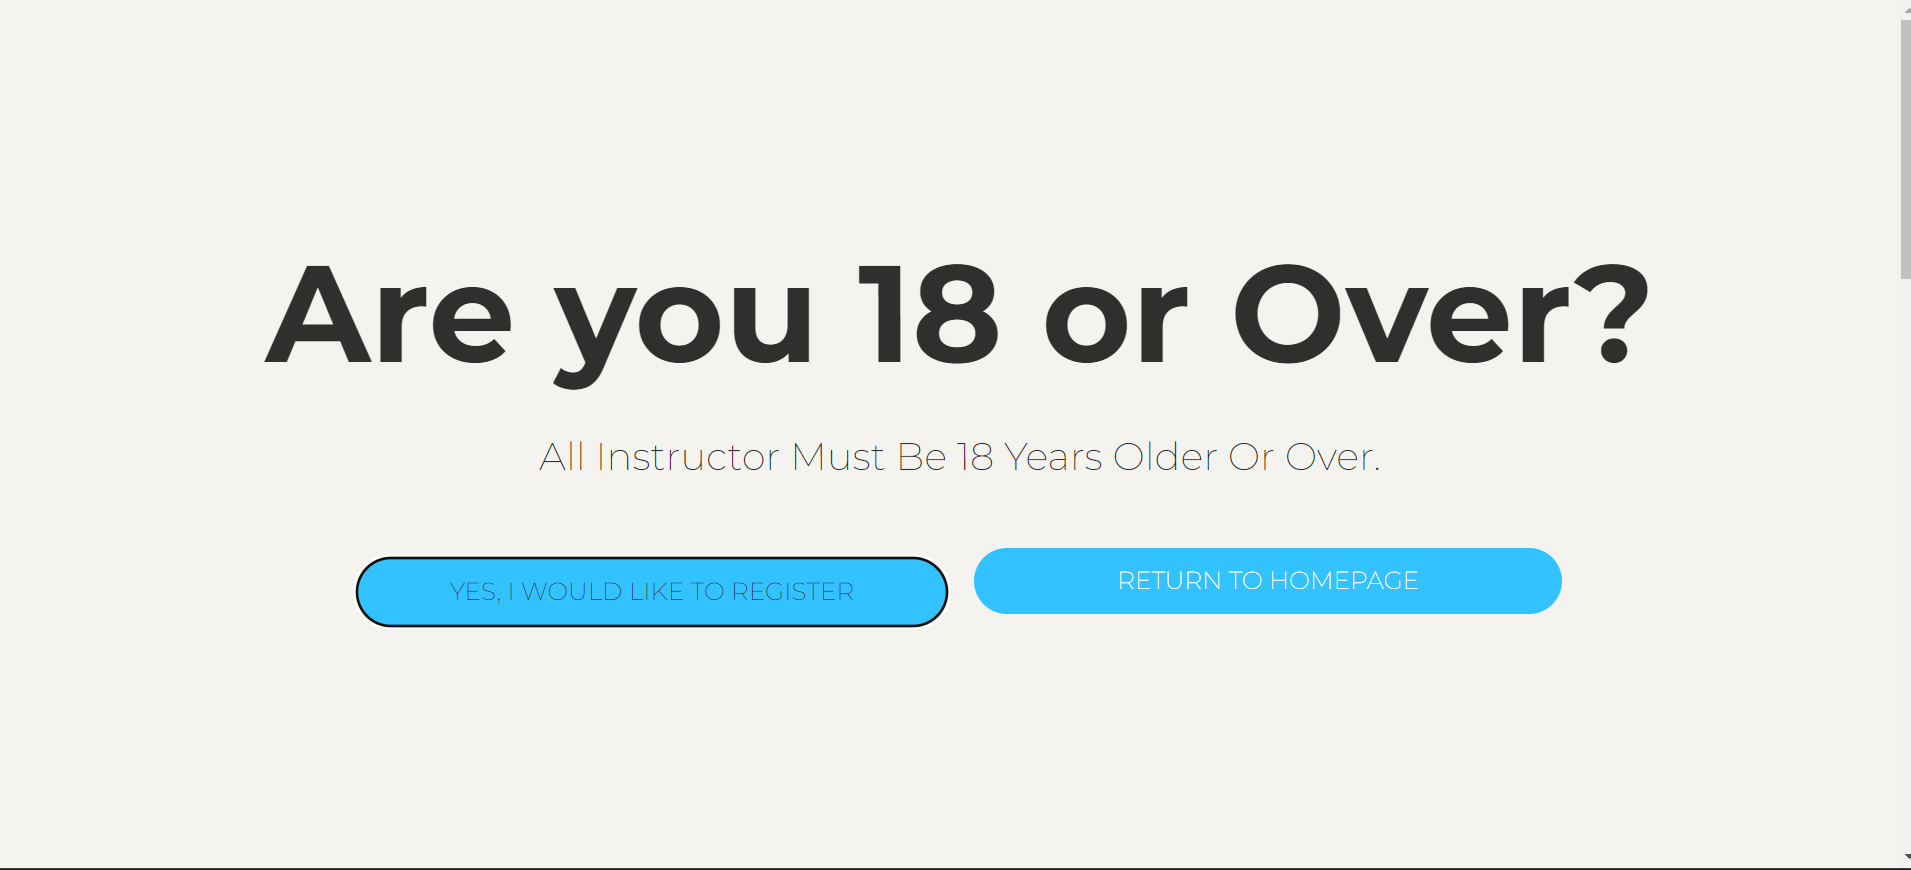
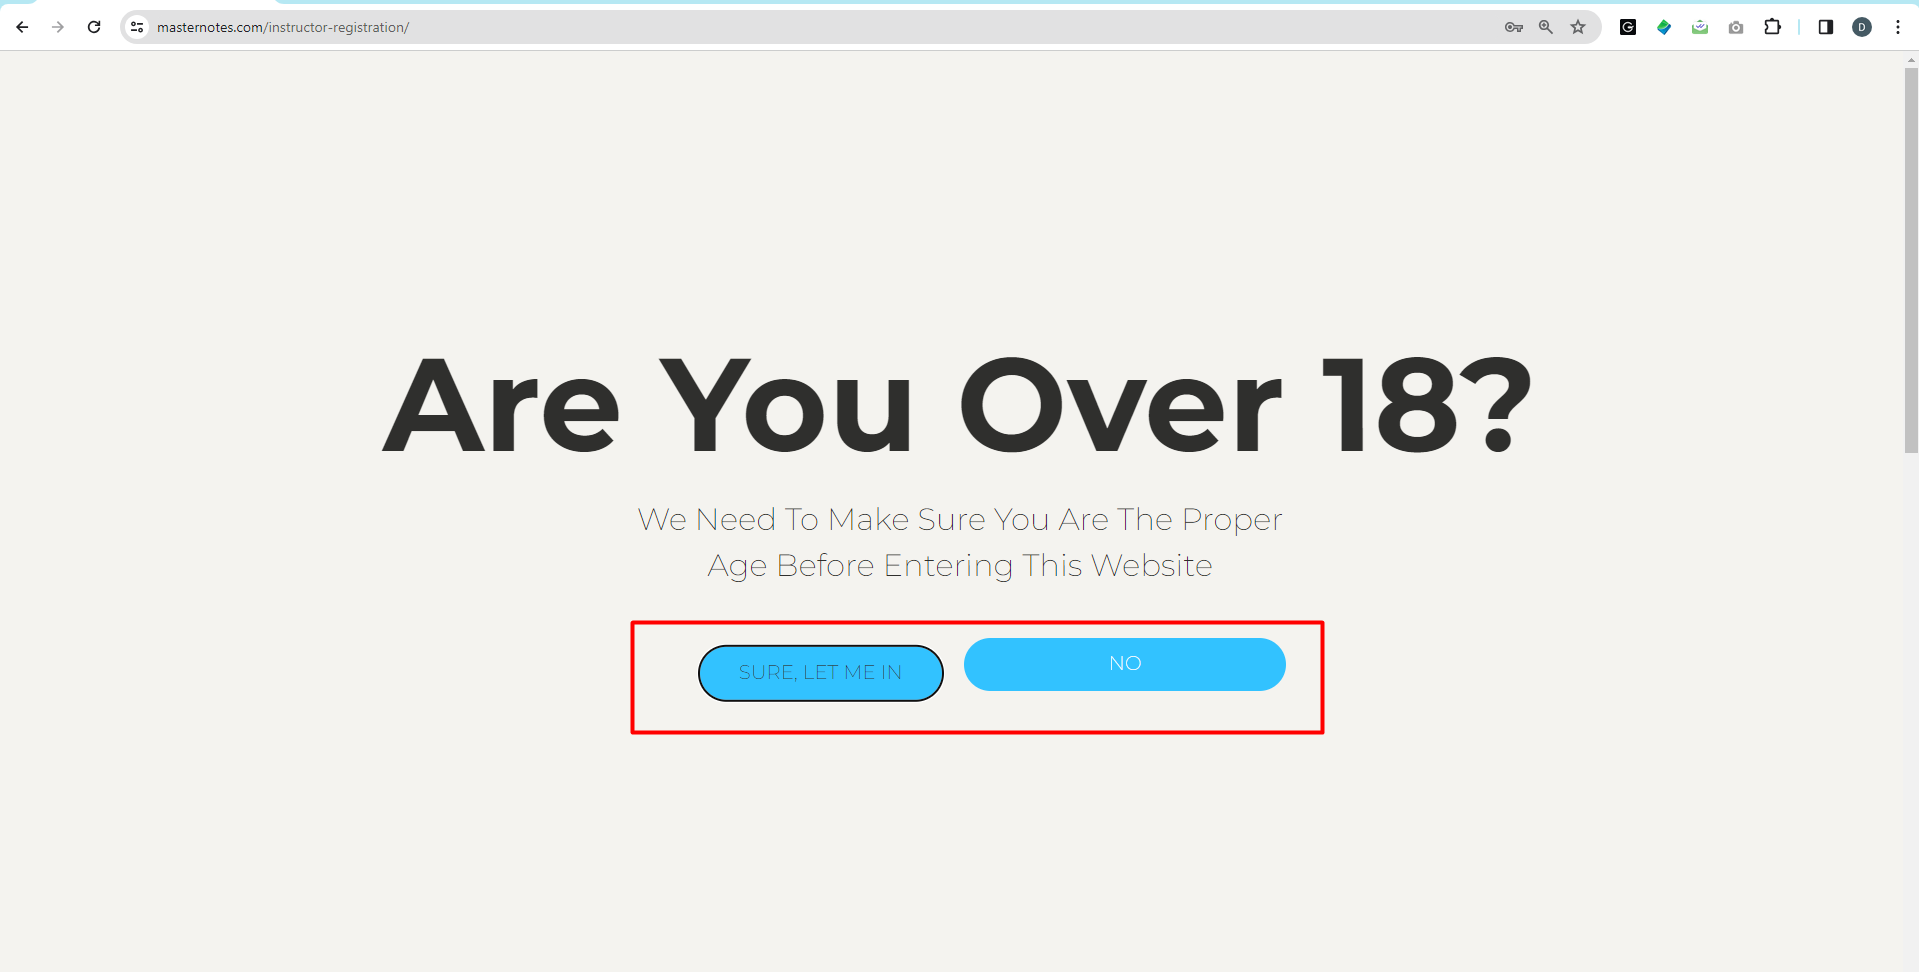
Step 2 : Clarify your age.
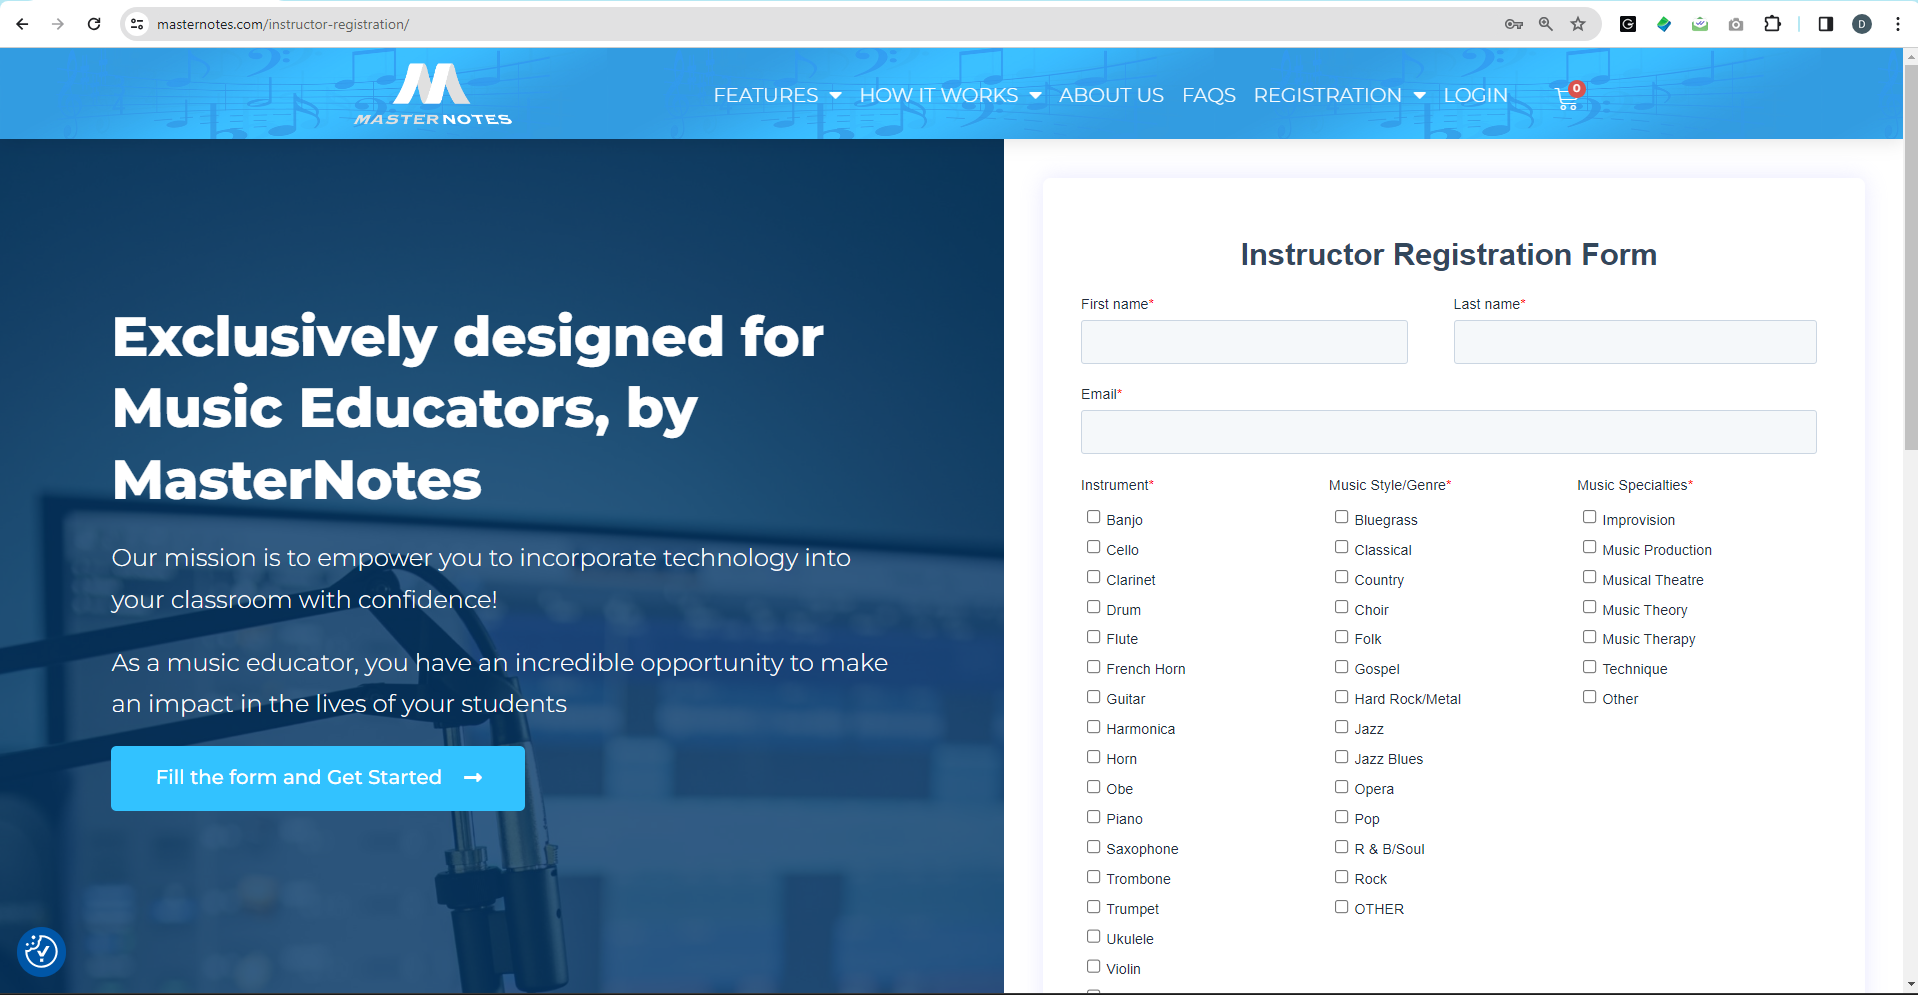
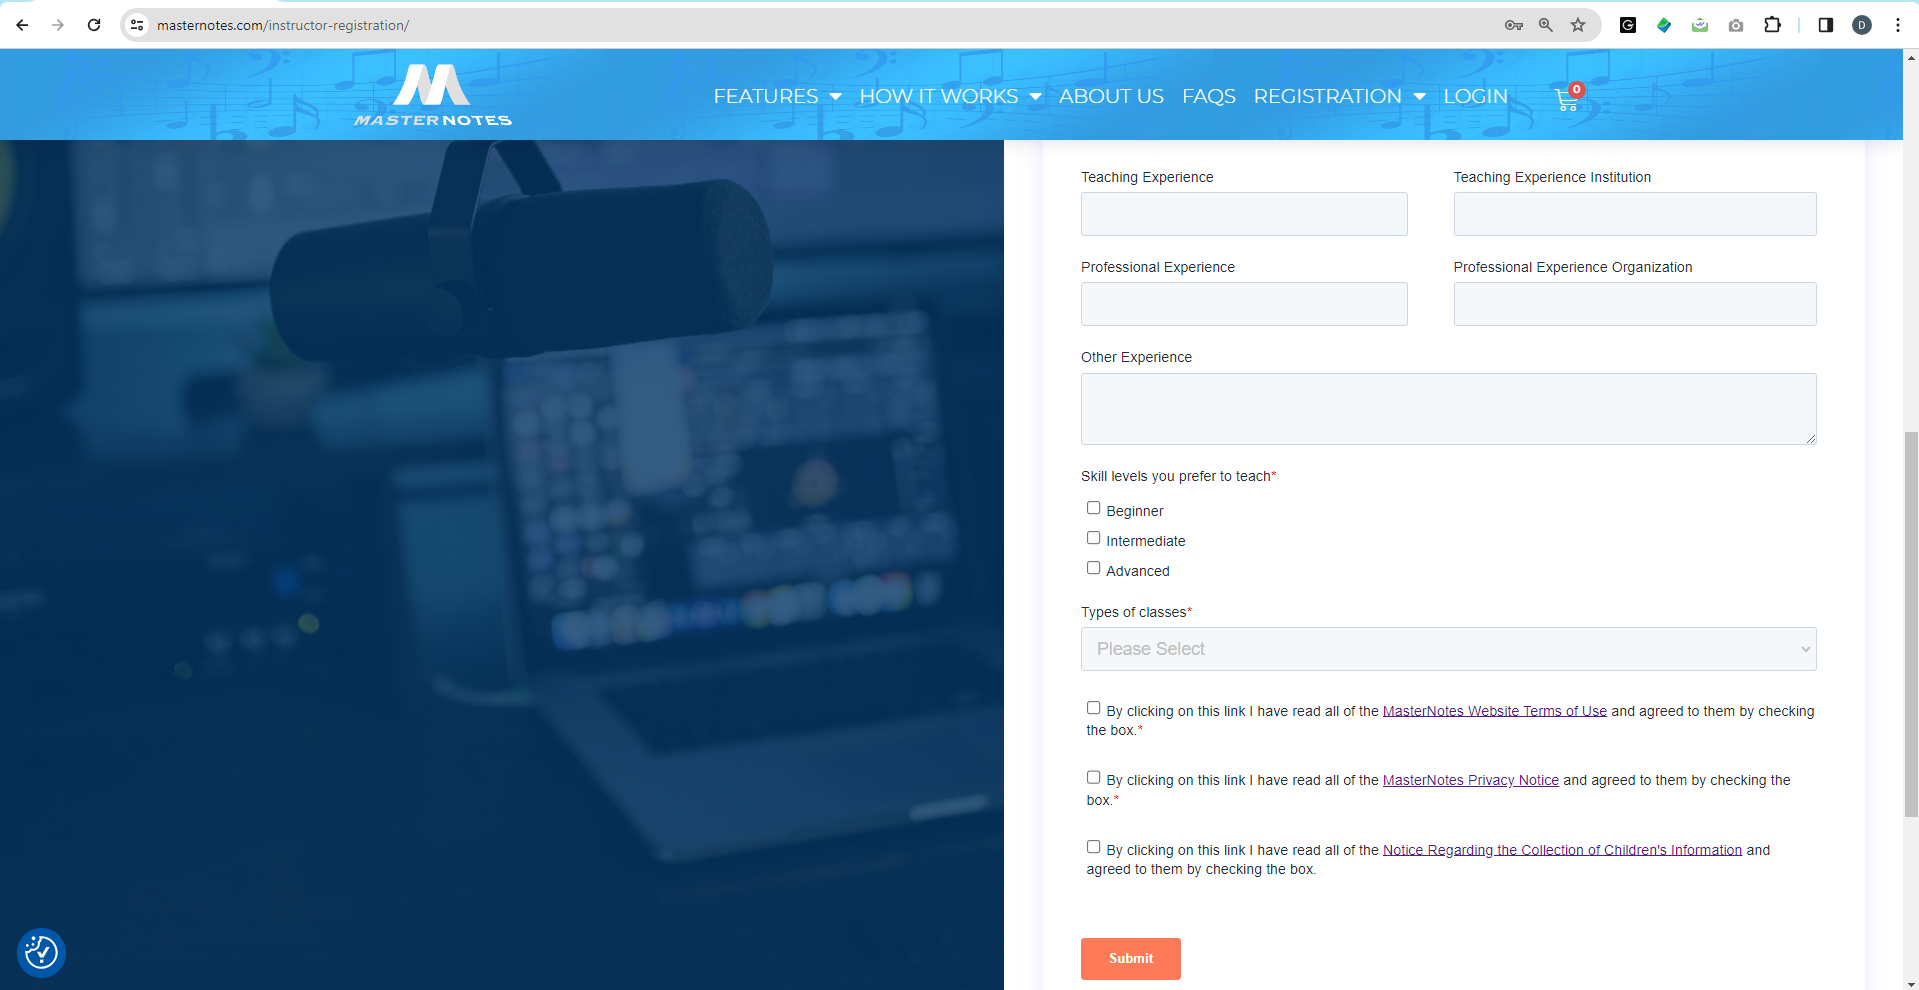
Step 3 : Complete the required information on the instructor registration form.
Step 4: Read MasterNotes terms of use and privacy notices and click on checkboxes if you agree.
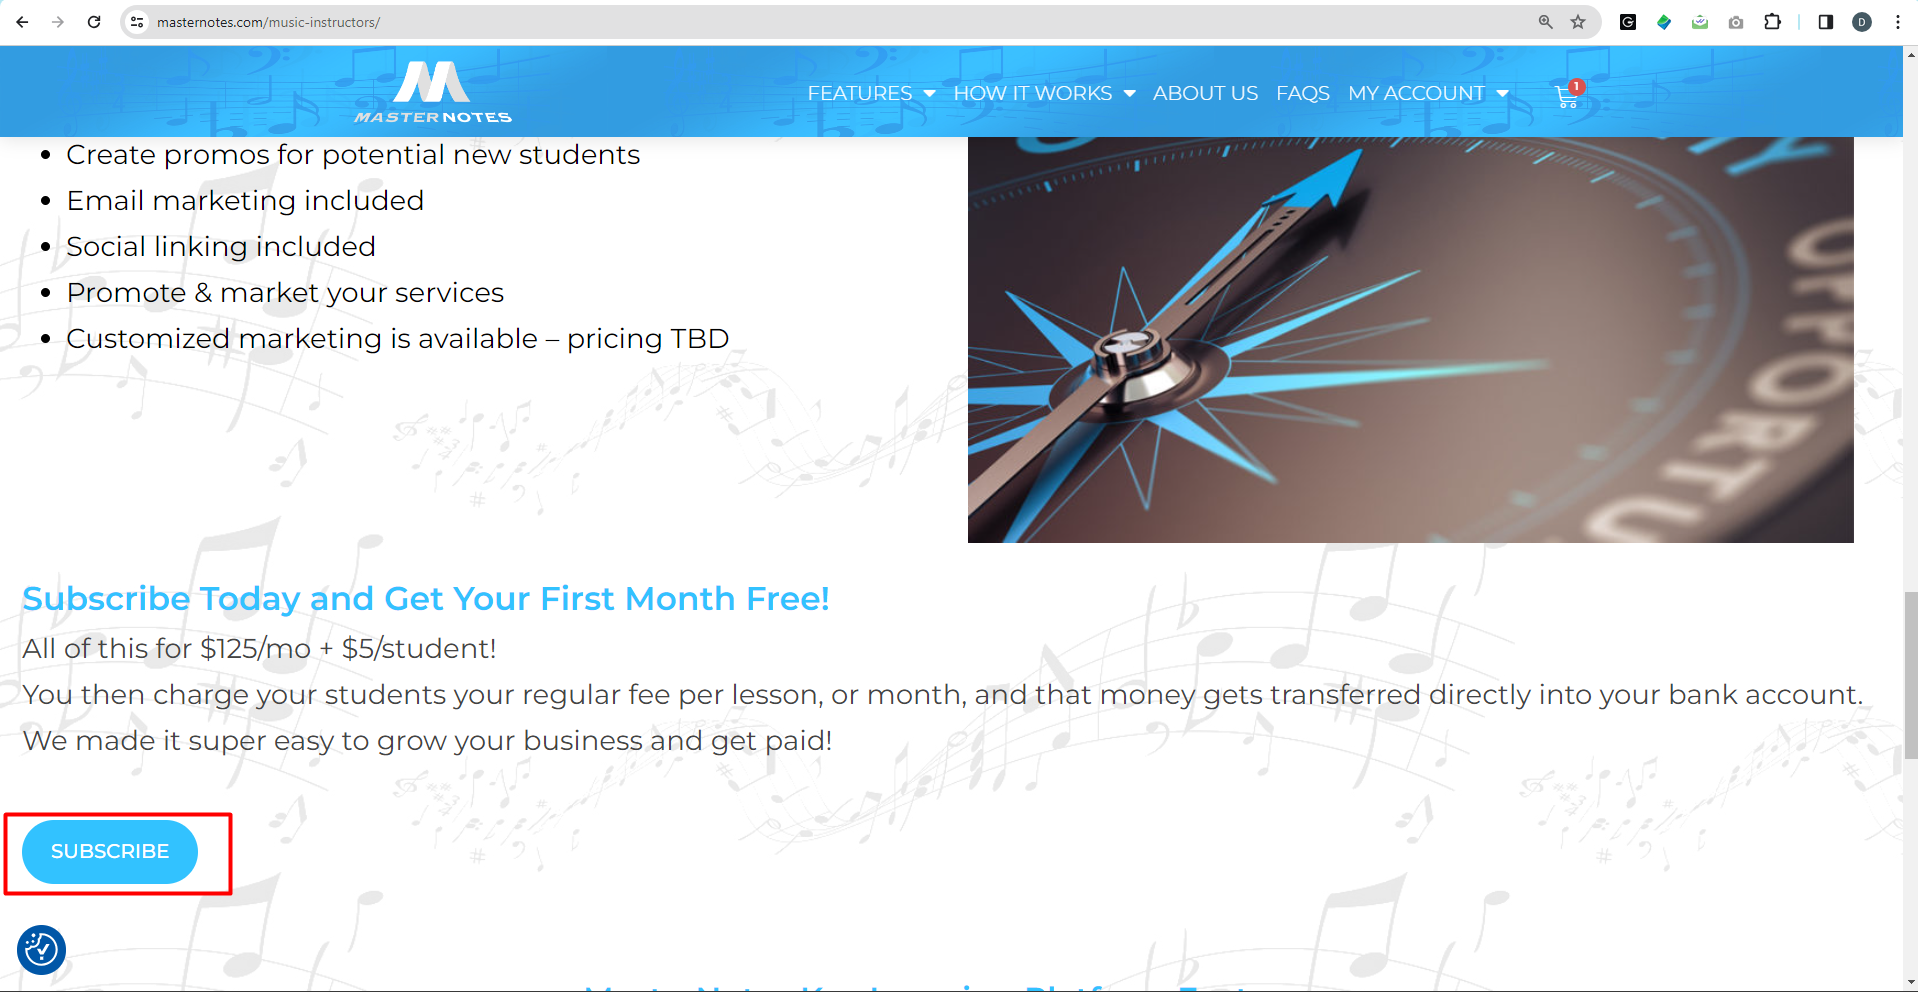
Step 5 : Review information about MasterNotes learning platform. Then, click on the Subscribe button to begin the purchase process.
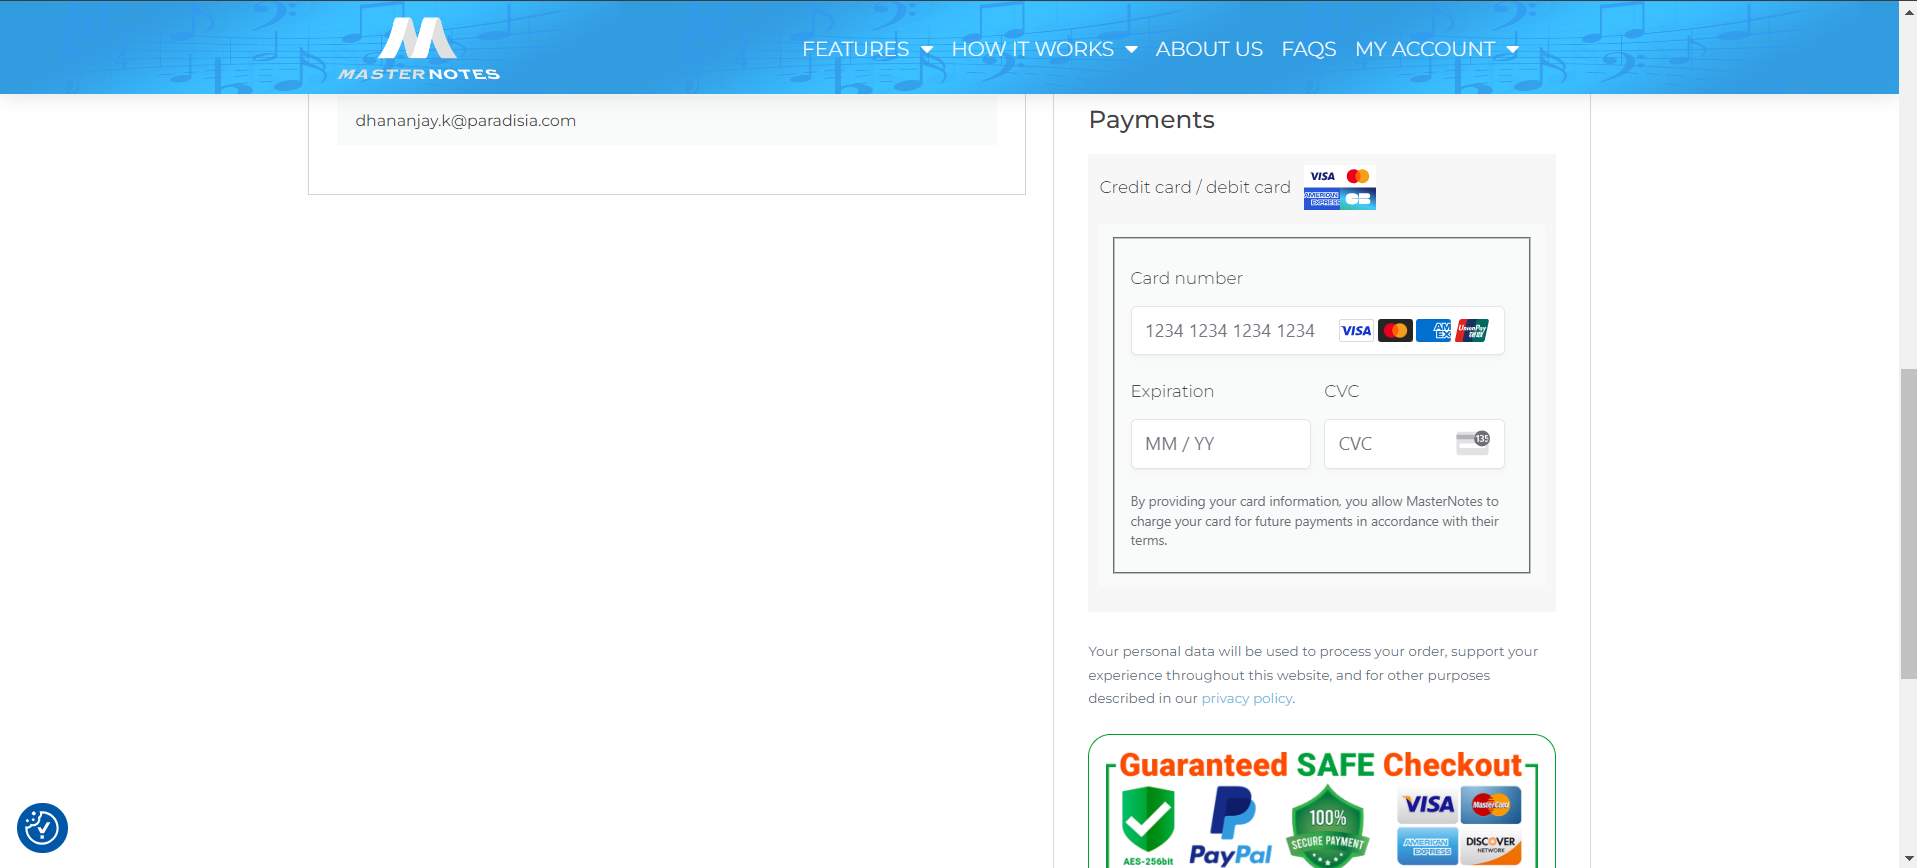
Step 6 : Fill the required information on the checkout form and click on Subscribe button.

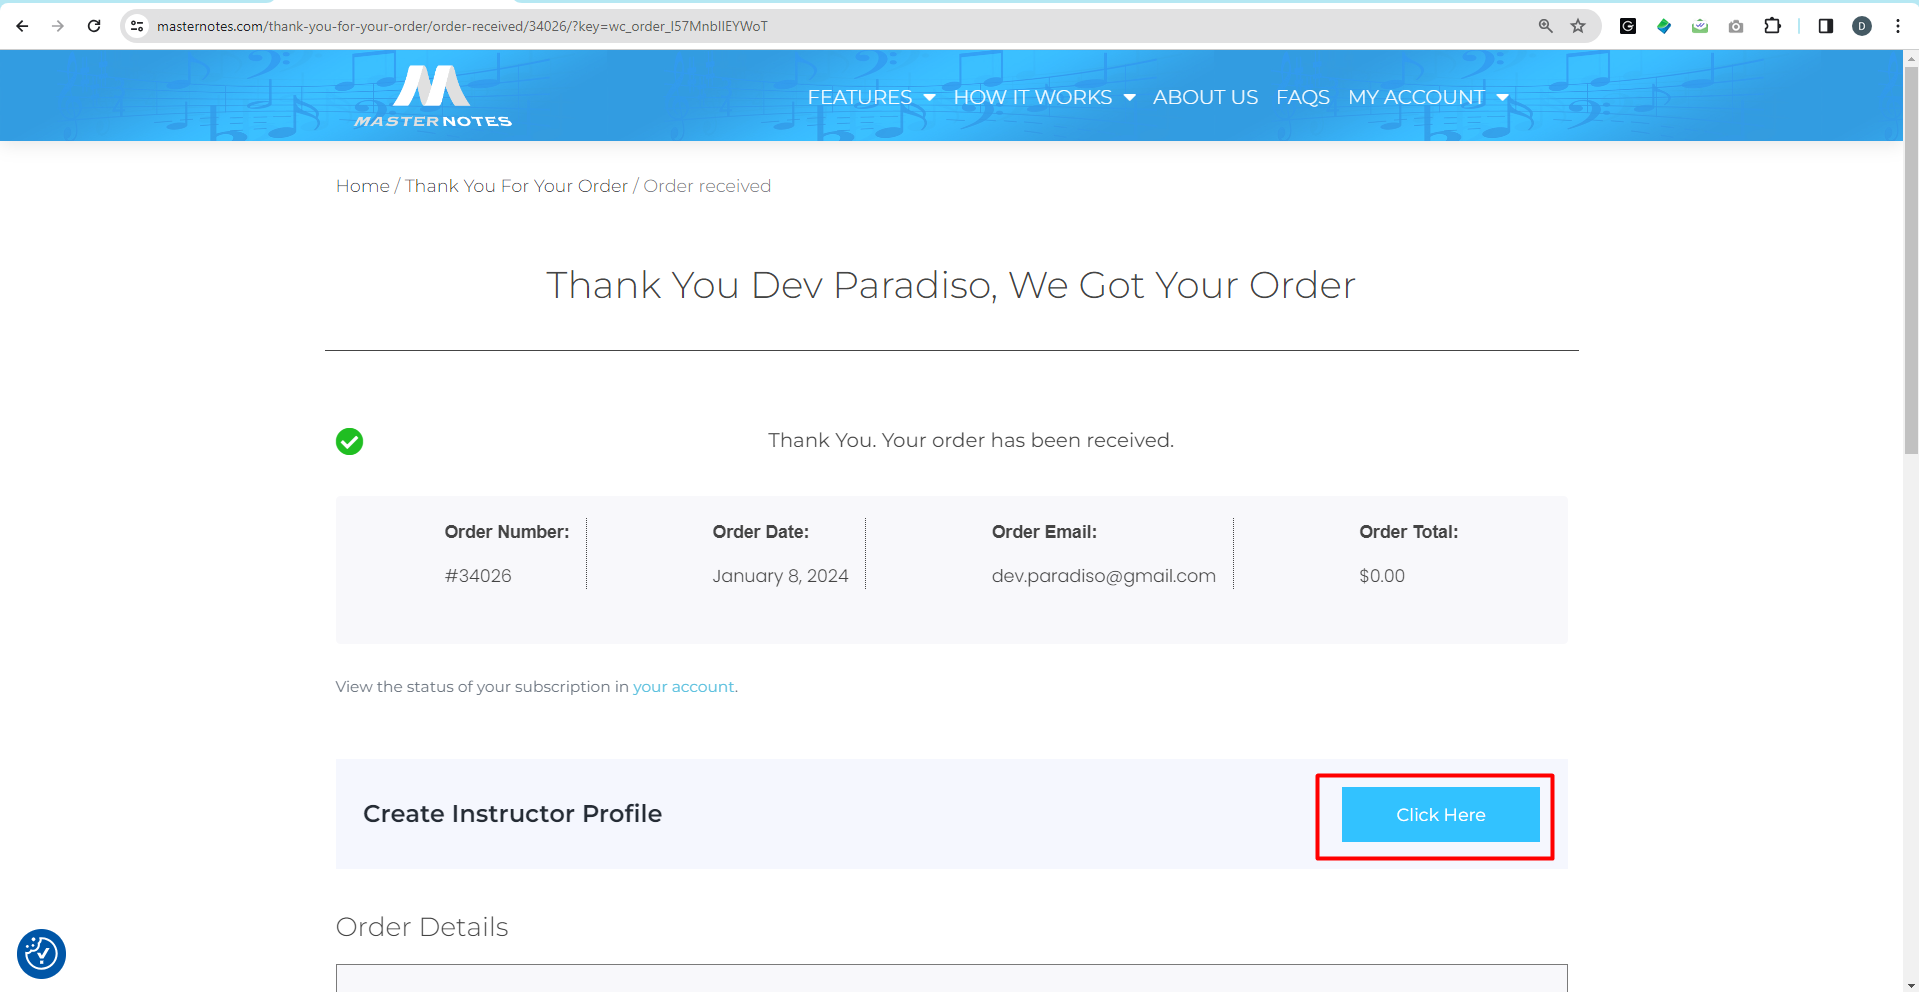
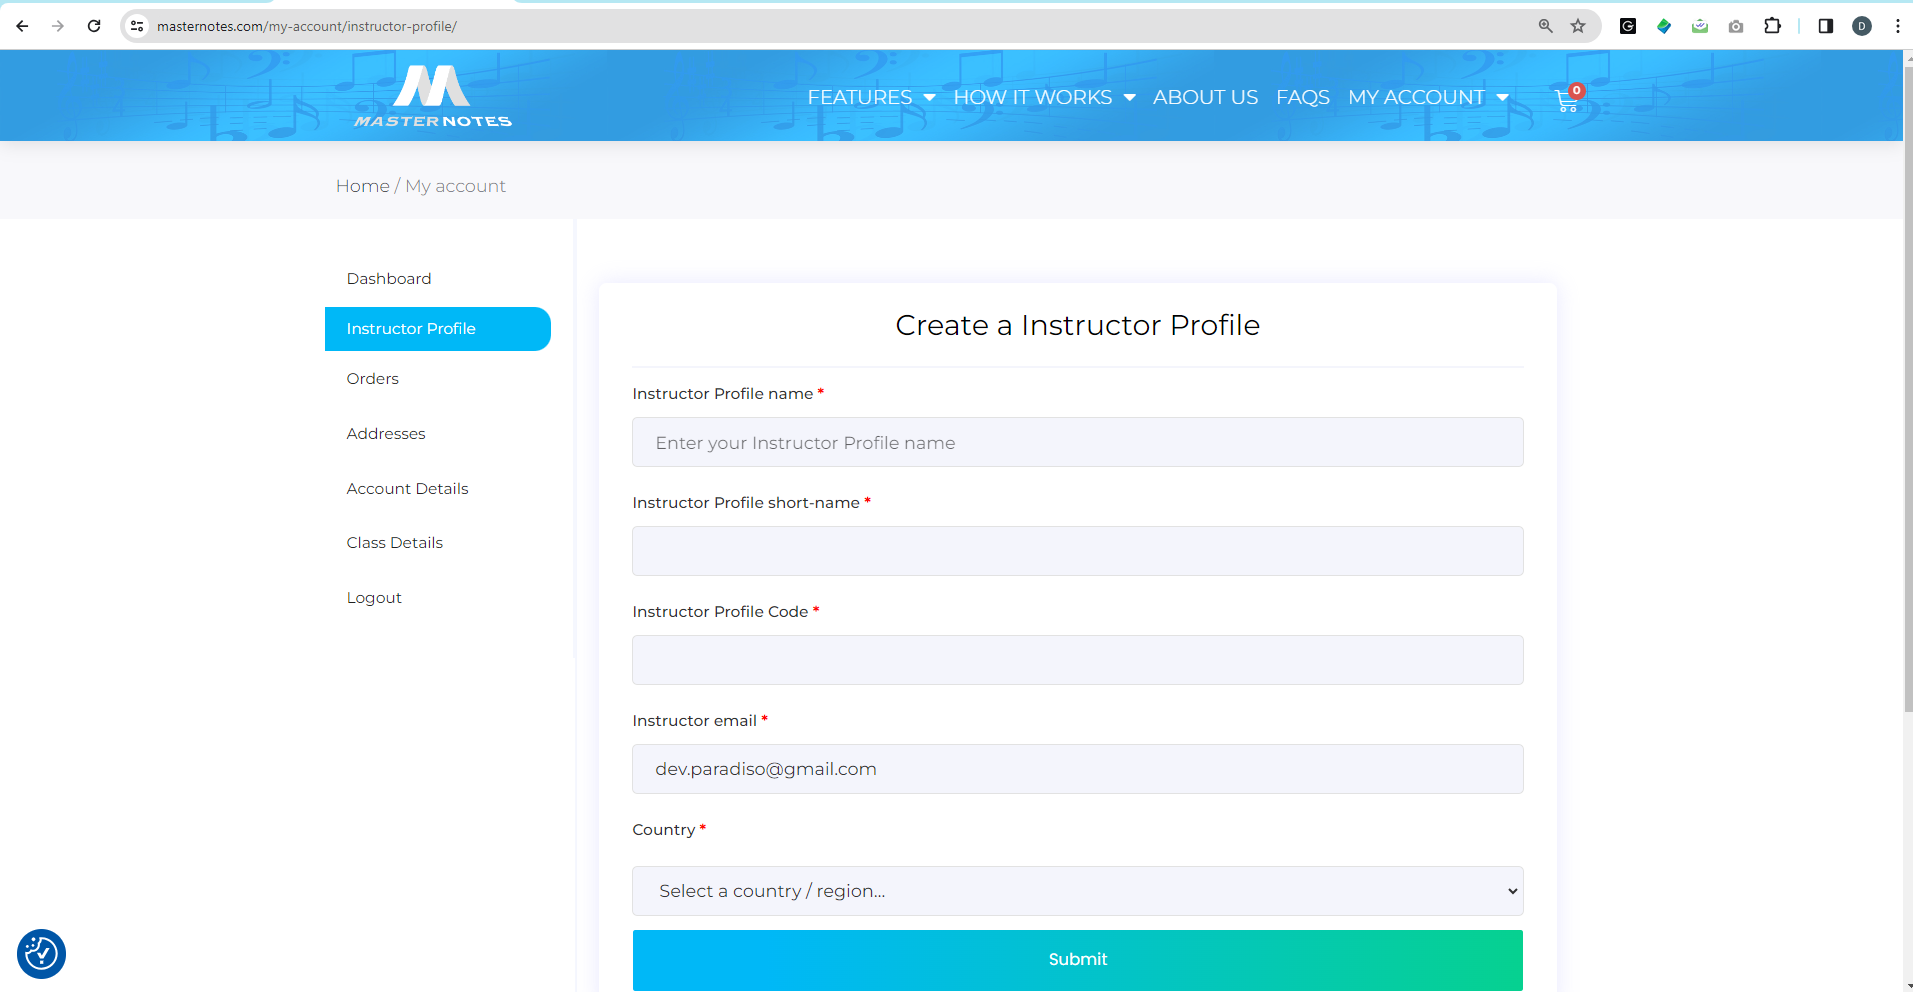
Step 7: To create your personalized instructor profile, click on the box shown at bottom of the screen .
Step 8 : Complete instructor profile to create your very own personalized instructor dashboard.
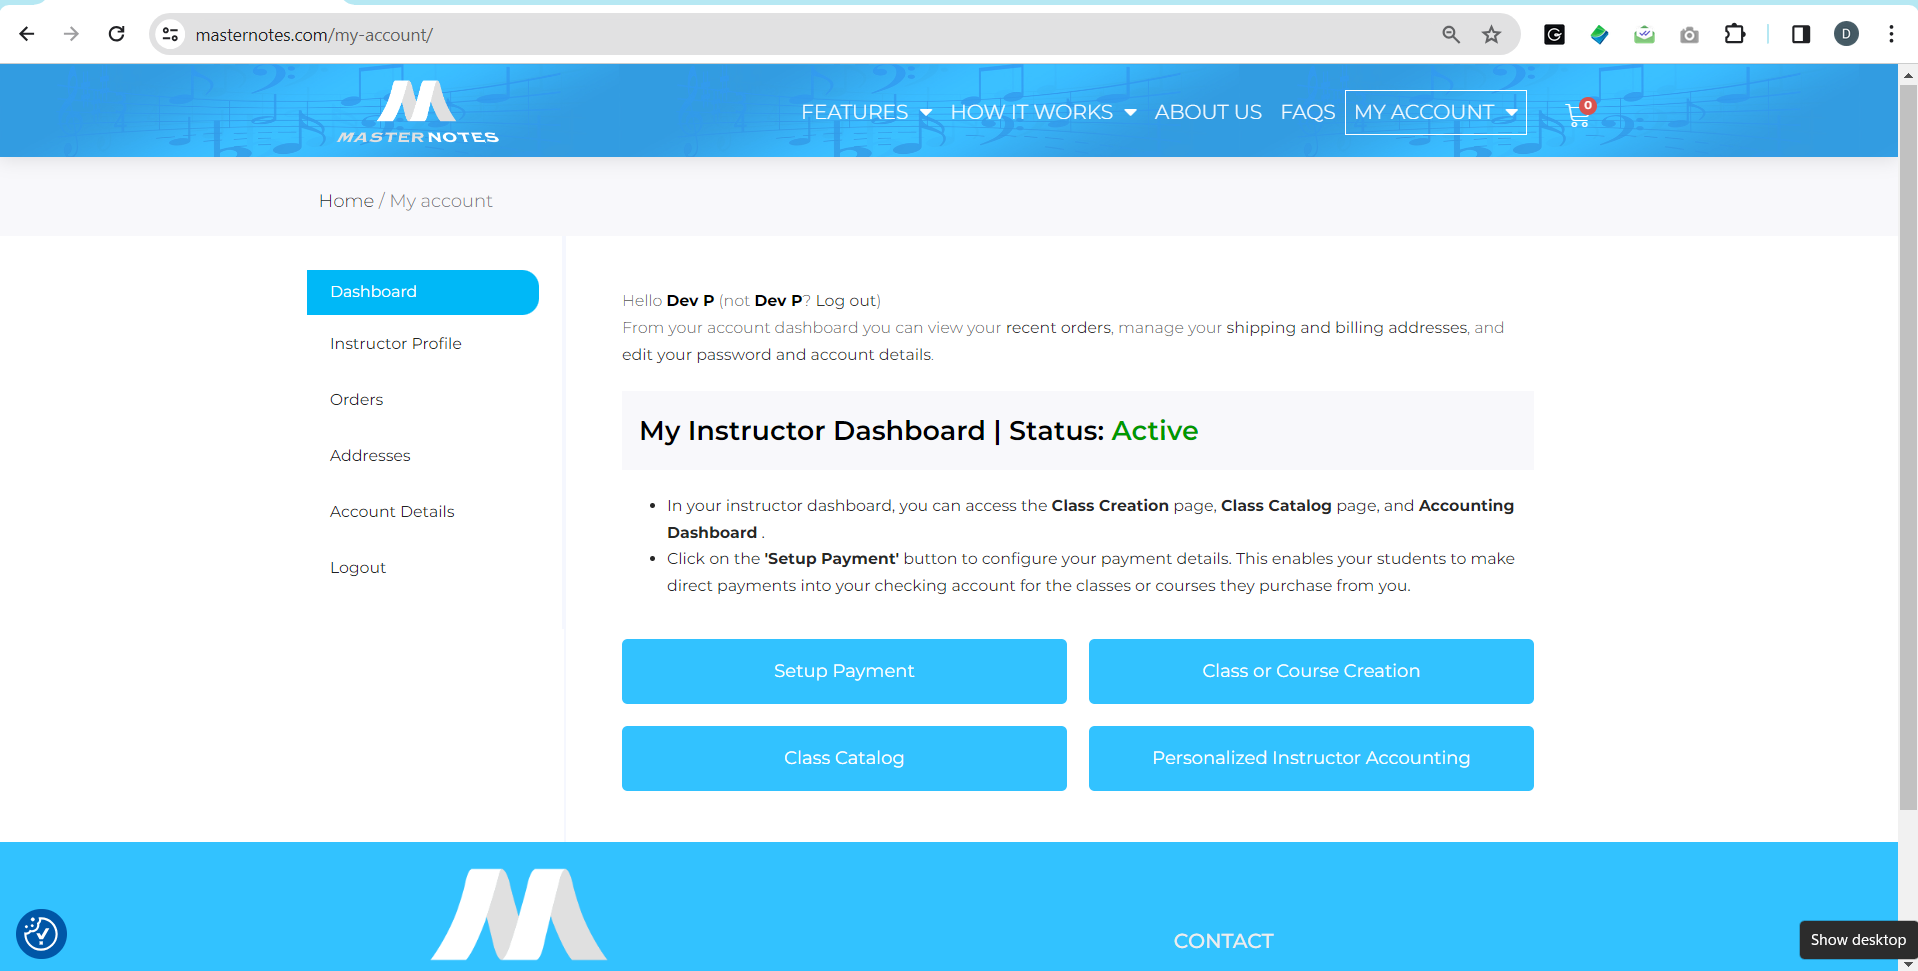
Step 9 : Instructor will be directed to their own Dashboard page where course creation can begin, and associated accounting established. Click on the Accounting Portal to designate your payment account details to directly receive student’s payments through the MasterNotes system.
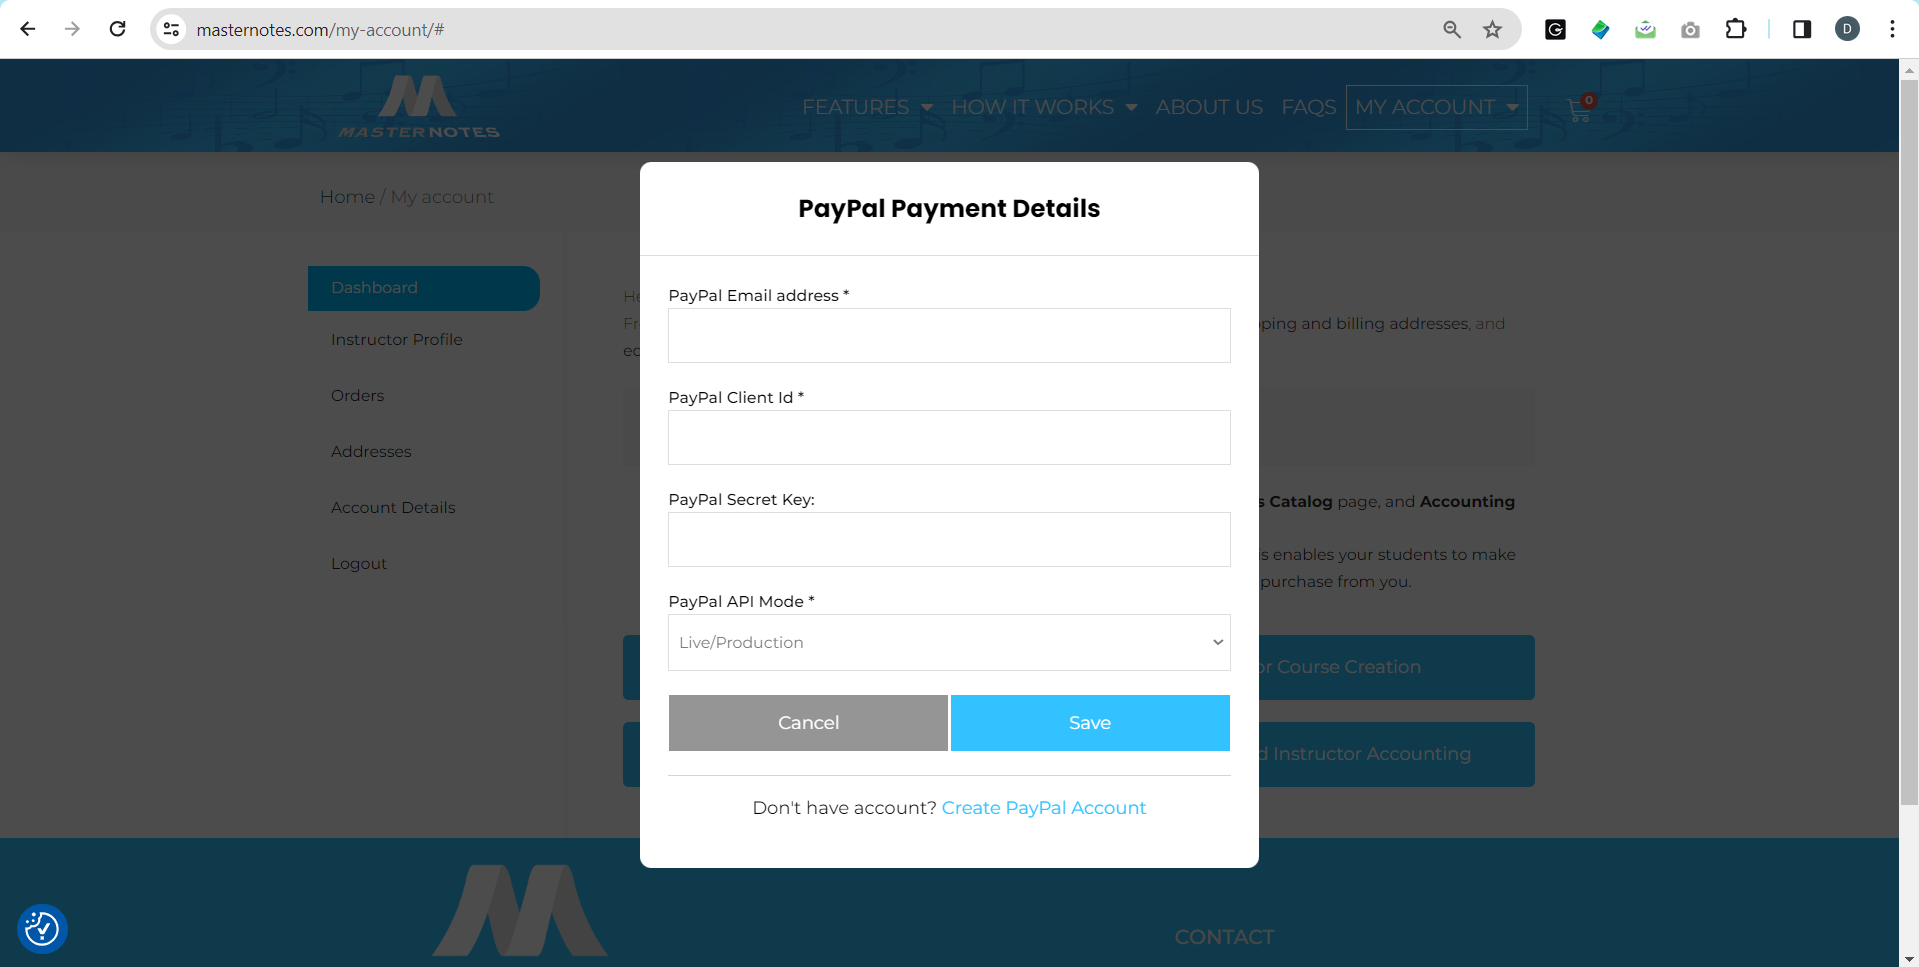
Step 10 : Update your payment account details and connect with the system for accounting purpose
Instructor will receive payment on account connected with the system
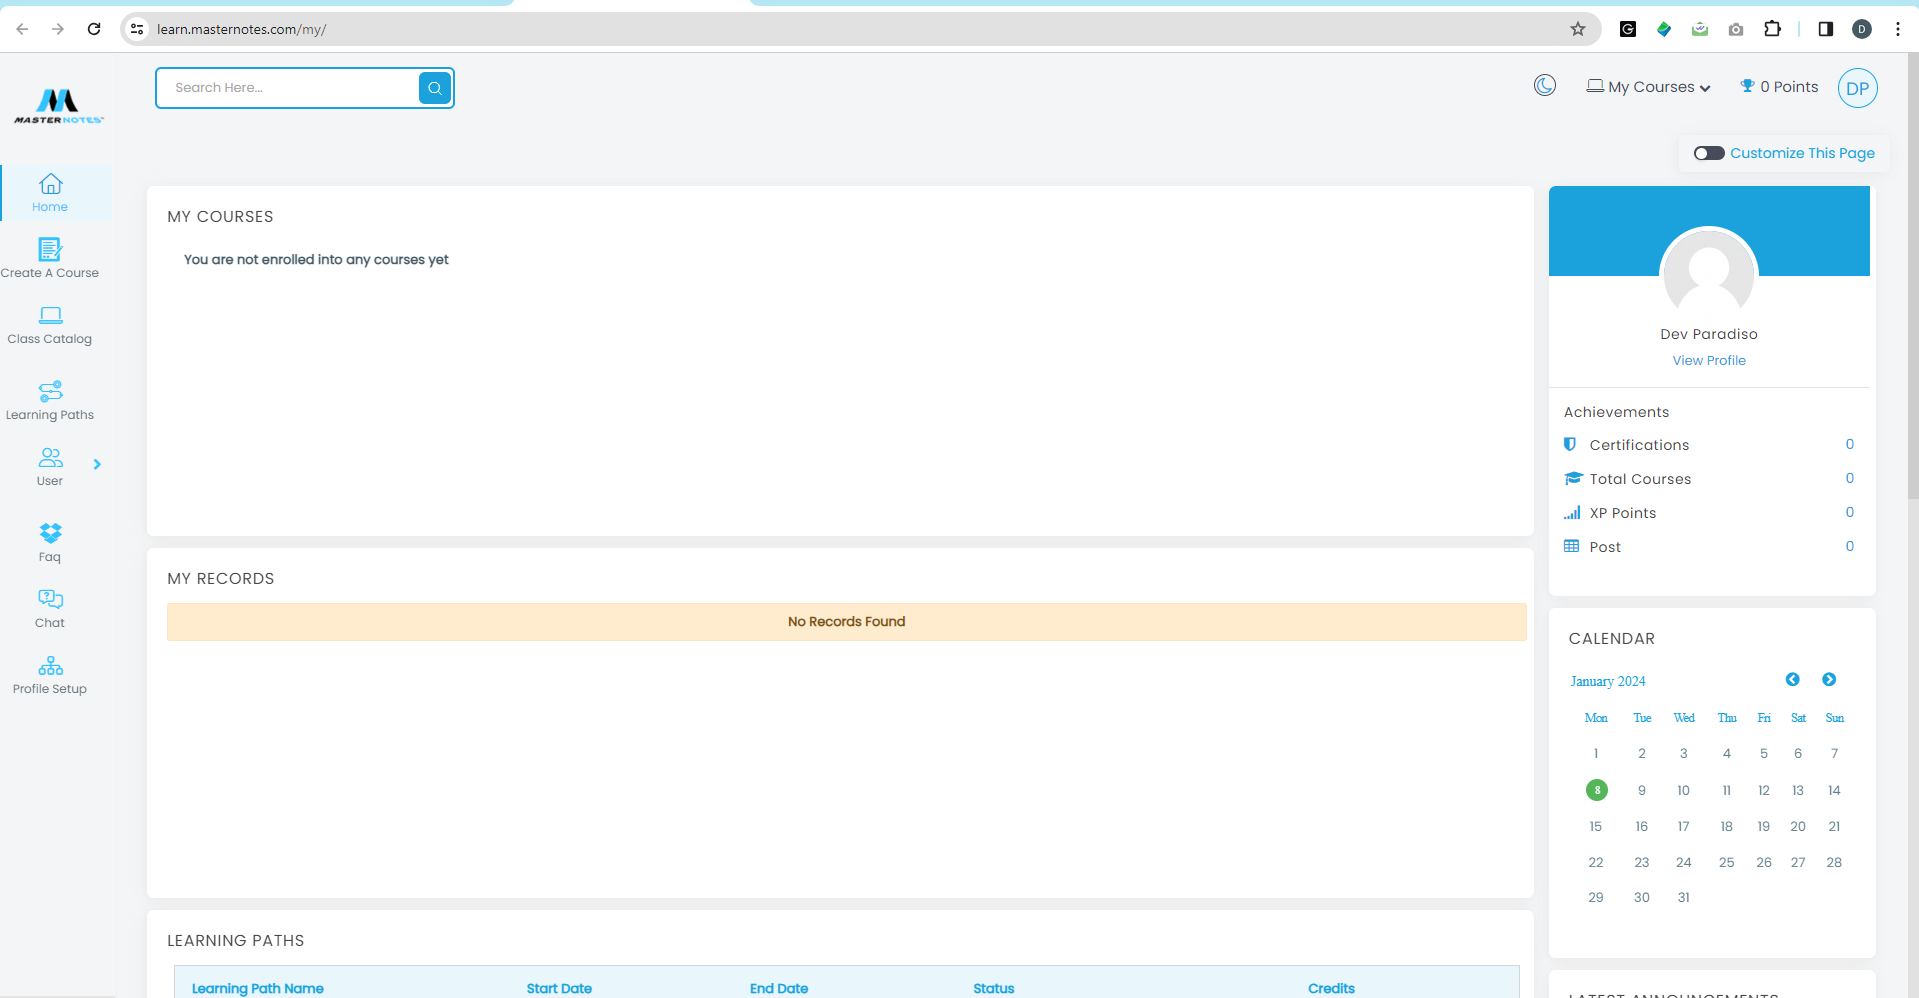
Step 11 : Click on the Course Creation & Reports button to begin developing new courses or post existing courses you’ve already developed.
Step 12 : Instructor will be directed to the Course Creation Platform where it will be easy to navigate the course development process by adding class/lesson scheduling and other teaching activities allowing you to individualize the course to your specific style.
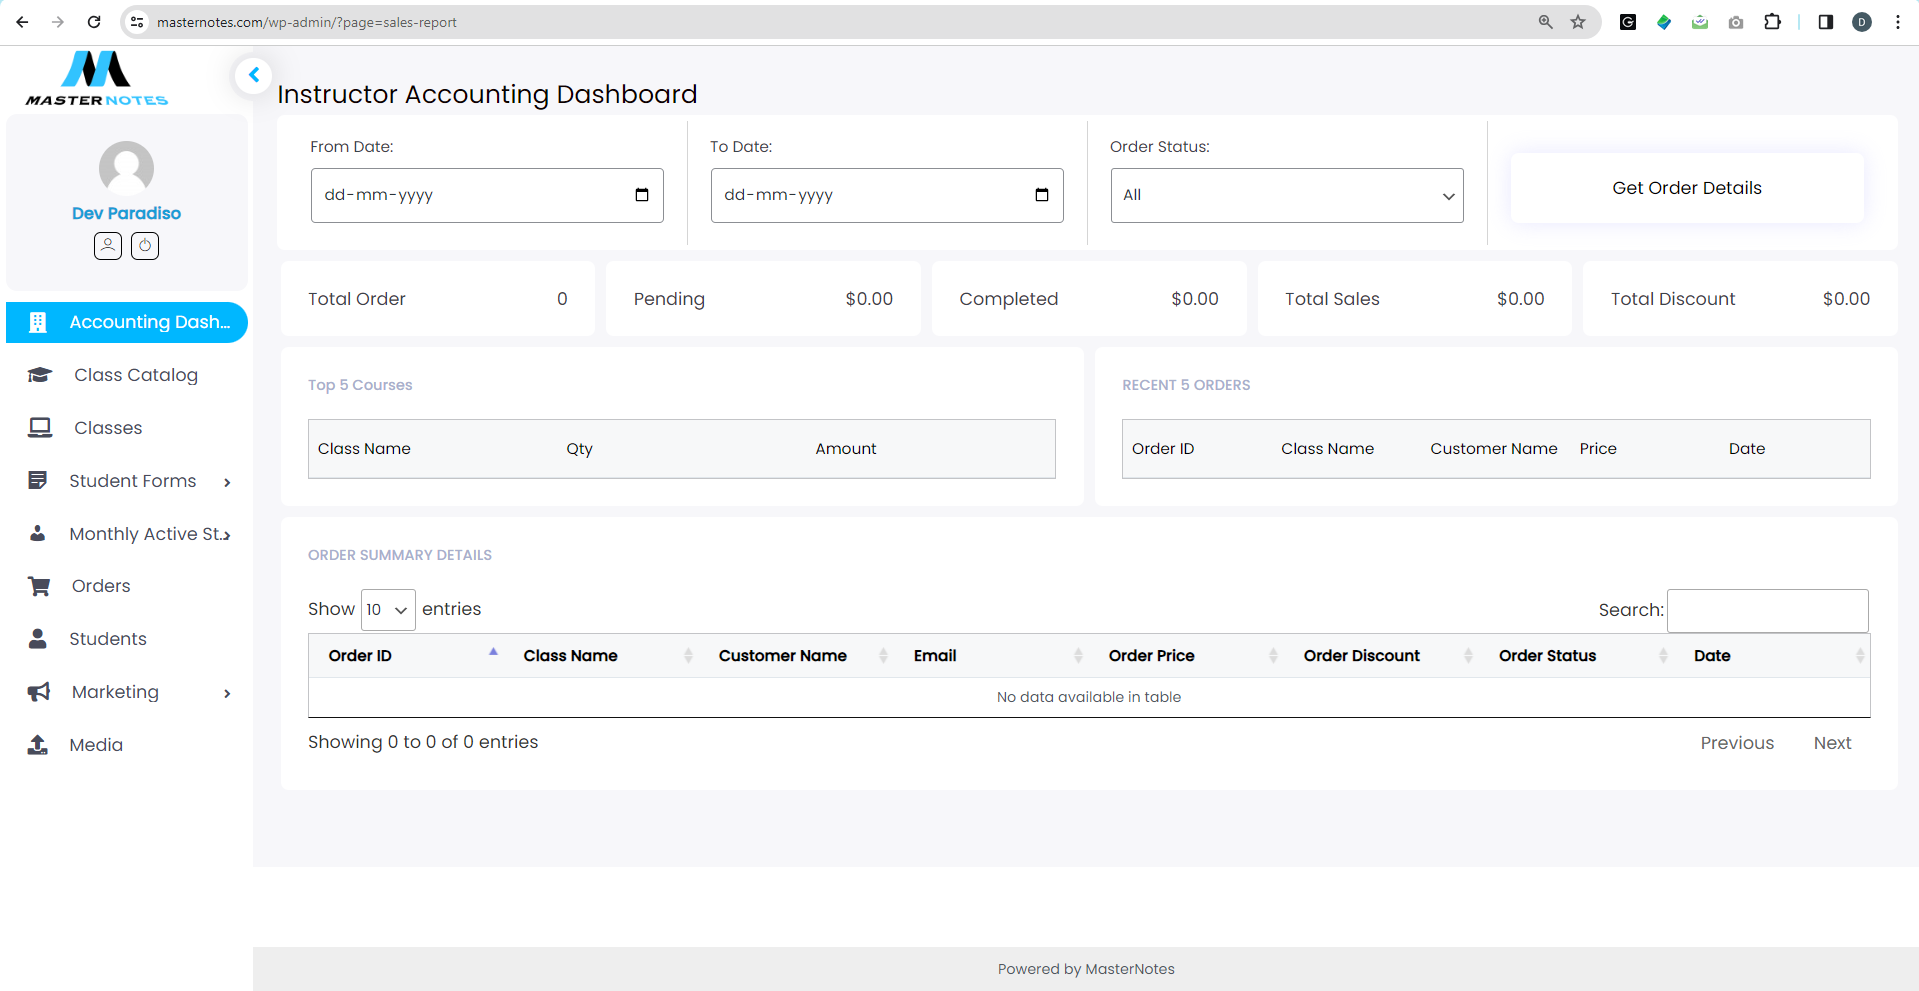
Step 13: Click on Personalized instructor accounting button to check details related to courses, student order status and other sales reports.
Step 14: You will be able to utilize your Instructor Accounting Dashboard to access details related to classes, sales, monthly activity, orders, and more at your convenience.
Click here for Create Class Video
Click here for Class Synchronization video
Step 1: Open Dashboard and click on Course Creation & Report button.
Step 2 : Click on create a class icon in left hand navigation menu.
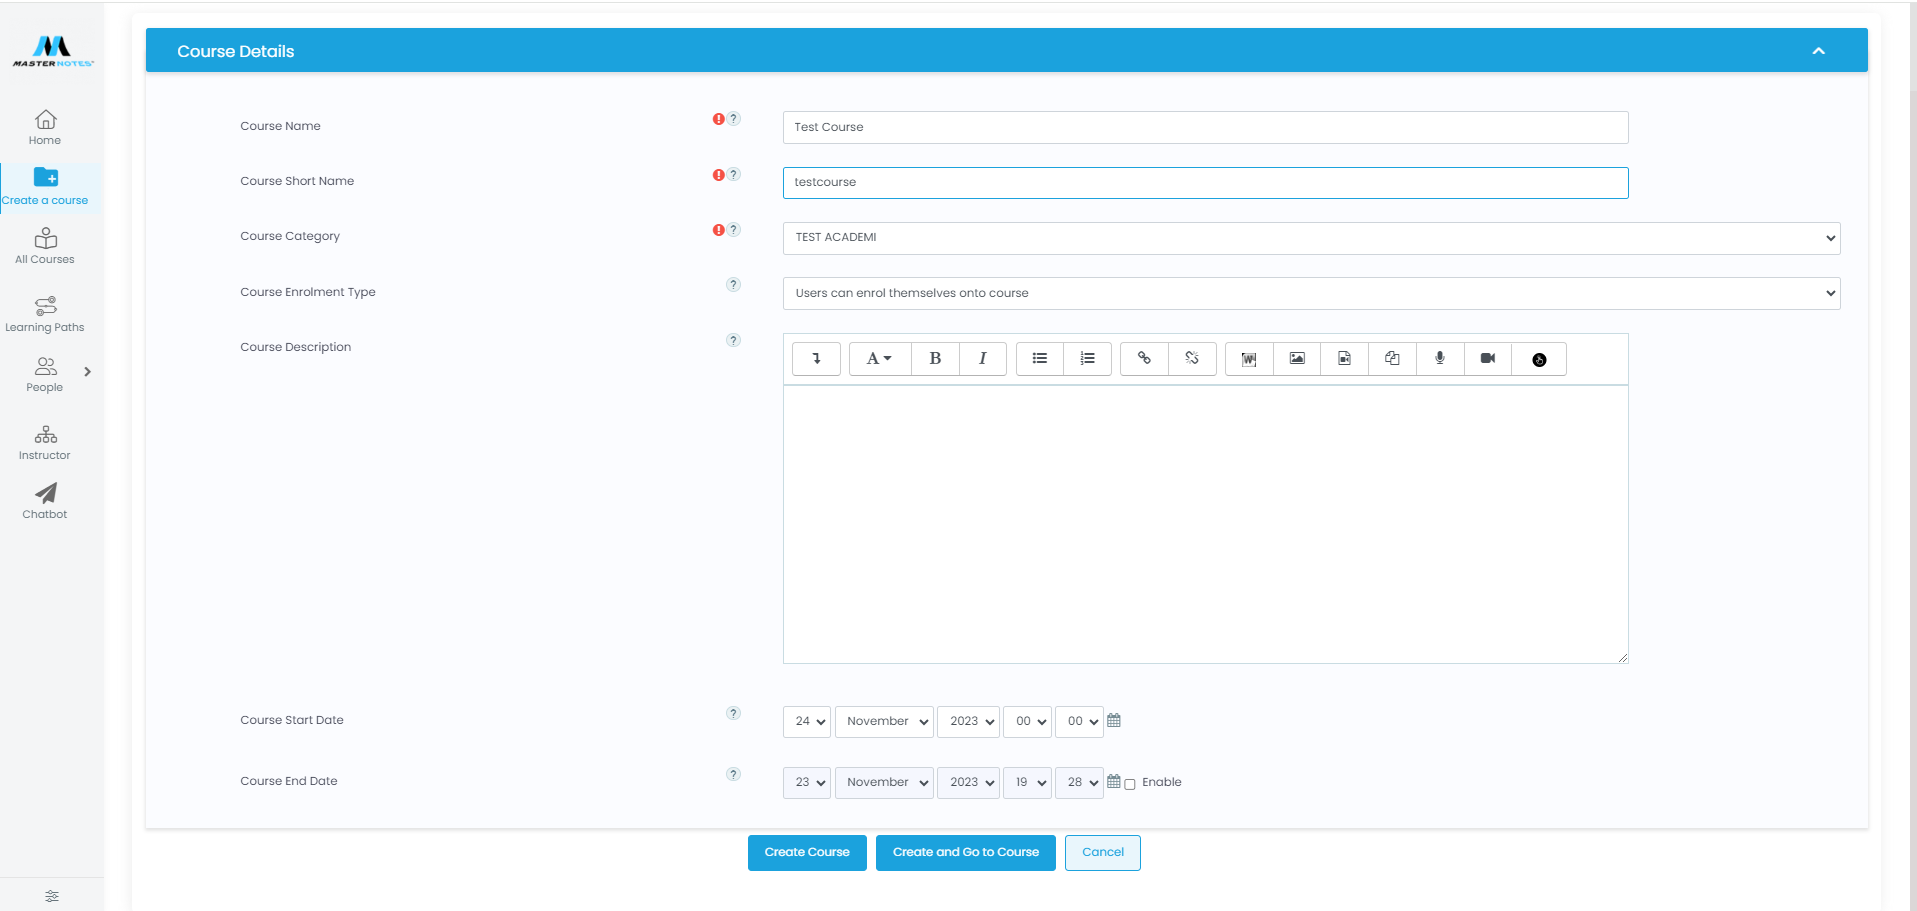
Step 3 : Add course name and keep same name as short name. Then click on Create and Go to Course button at the bottom of the page.
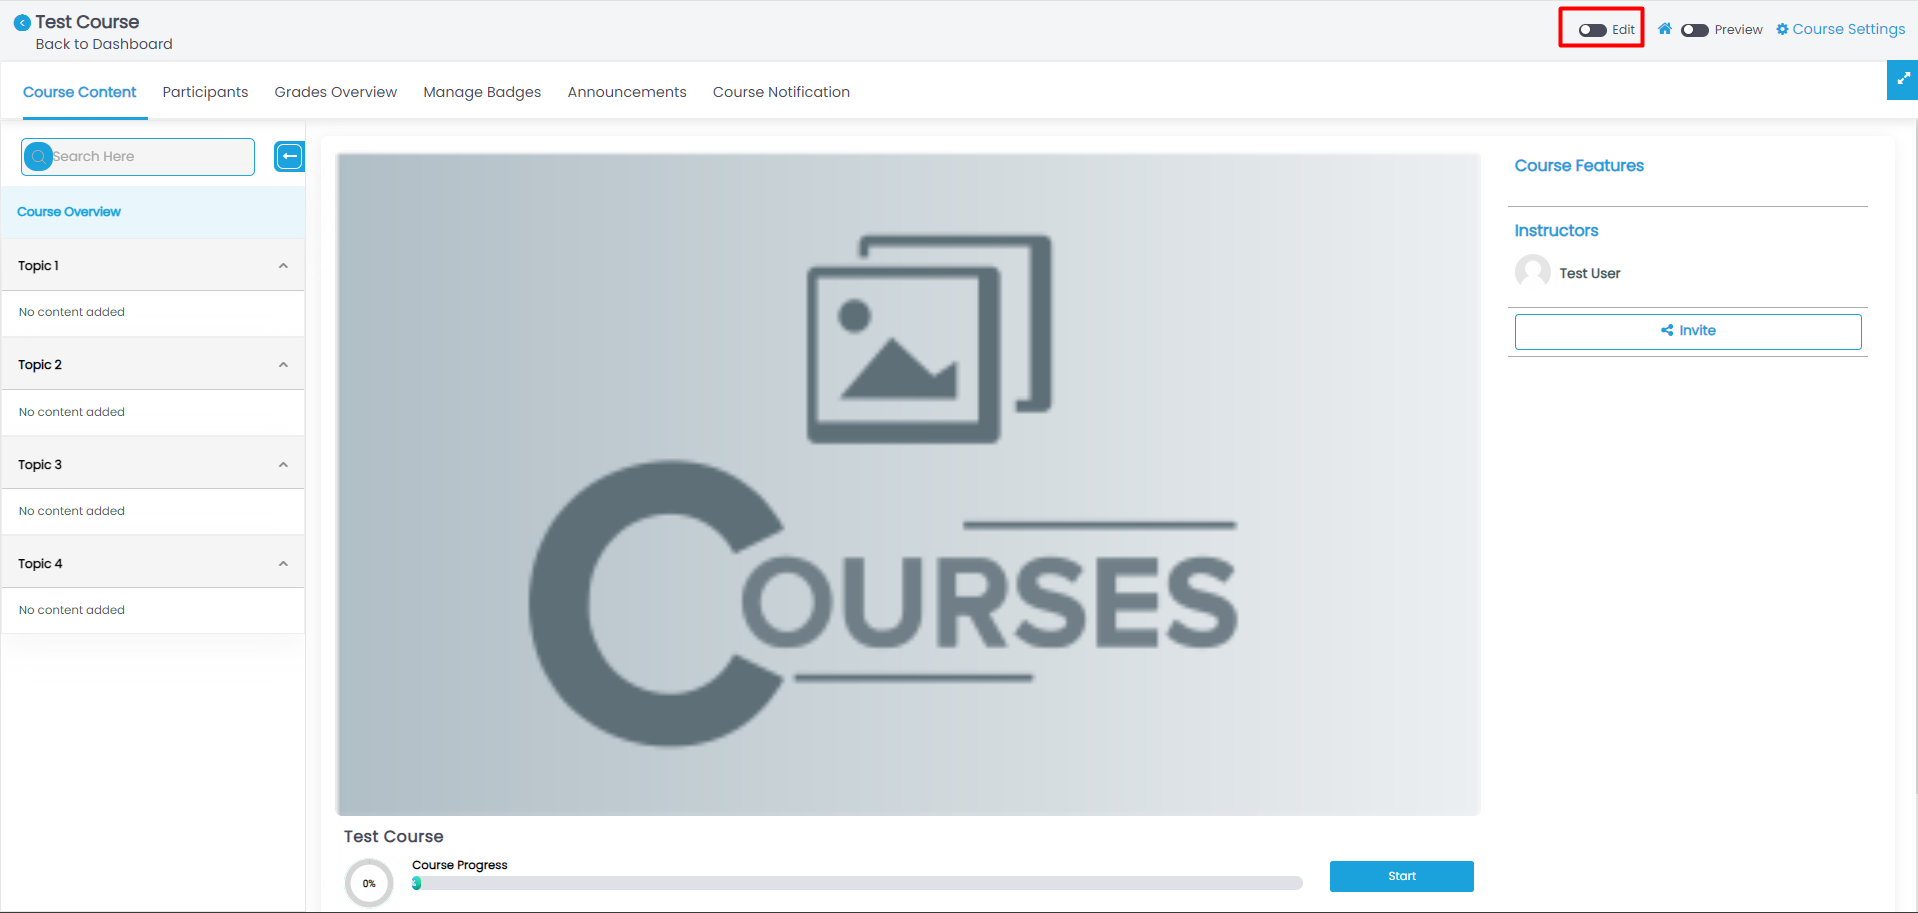
Step 4 : Click to editing enable mode at the top right.
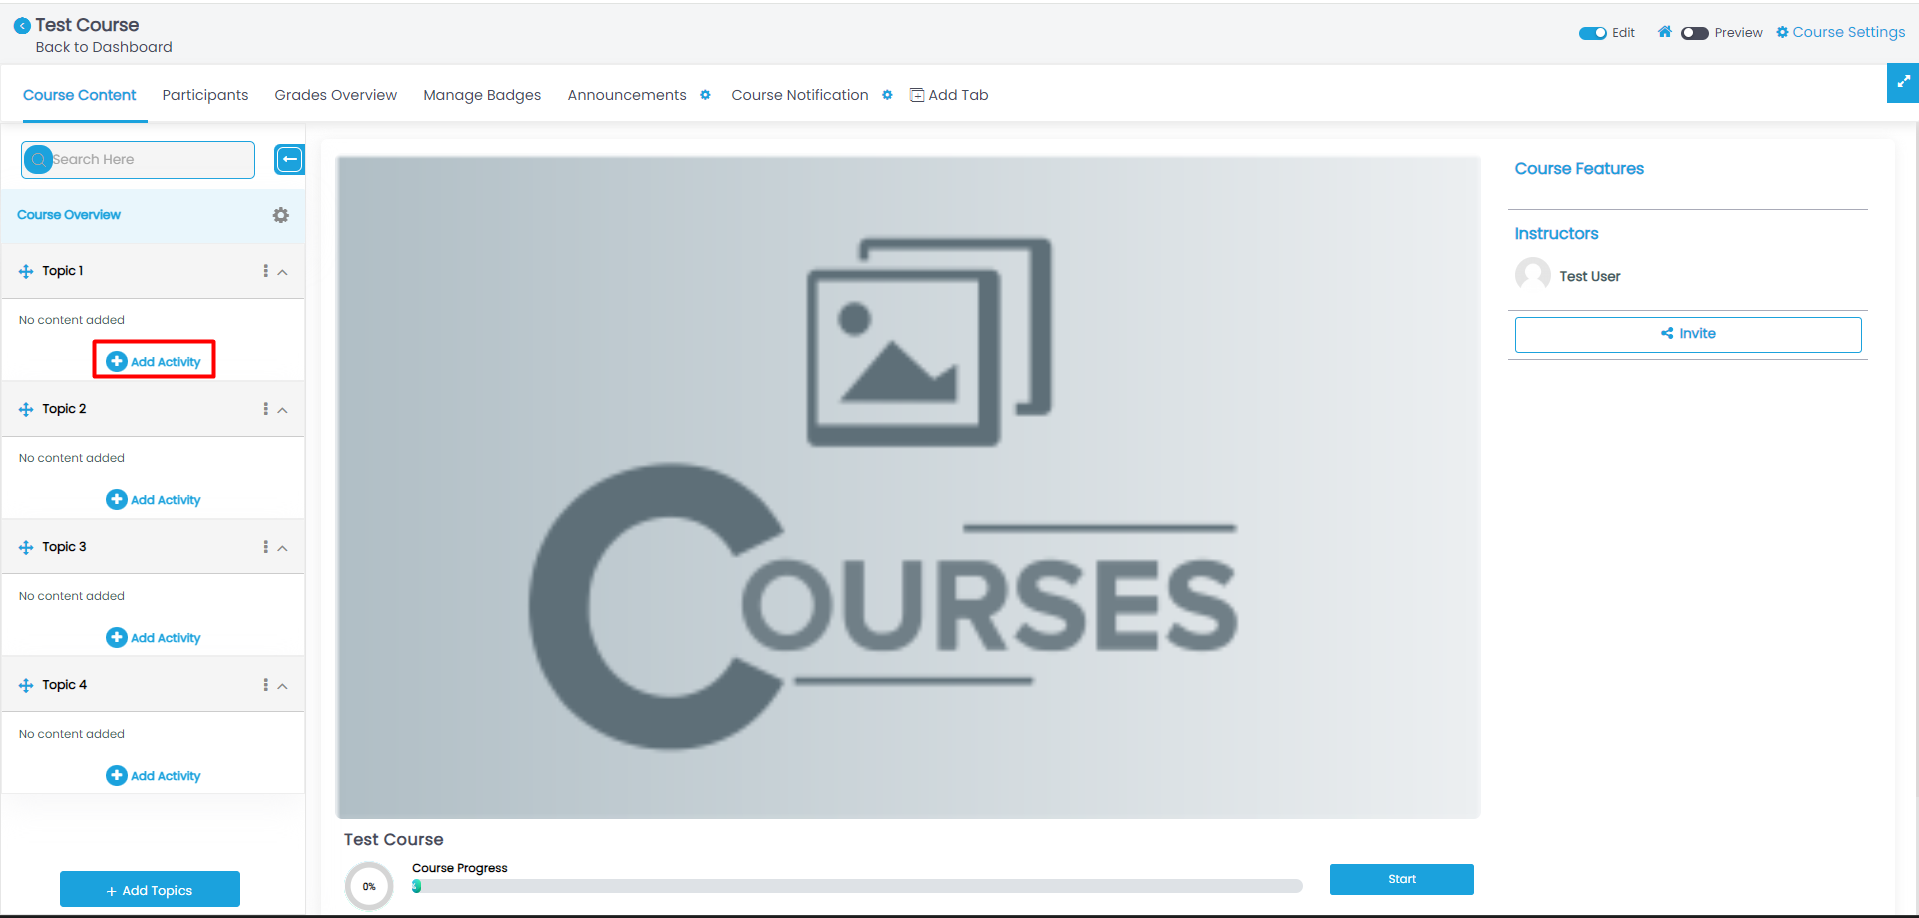
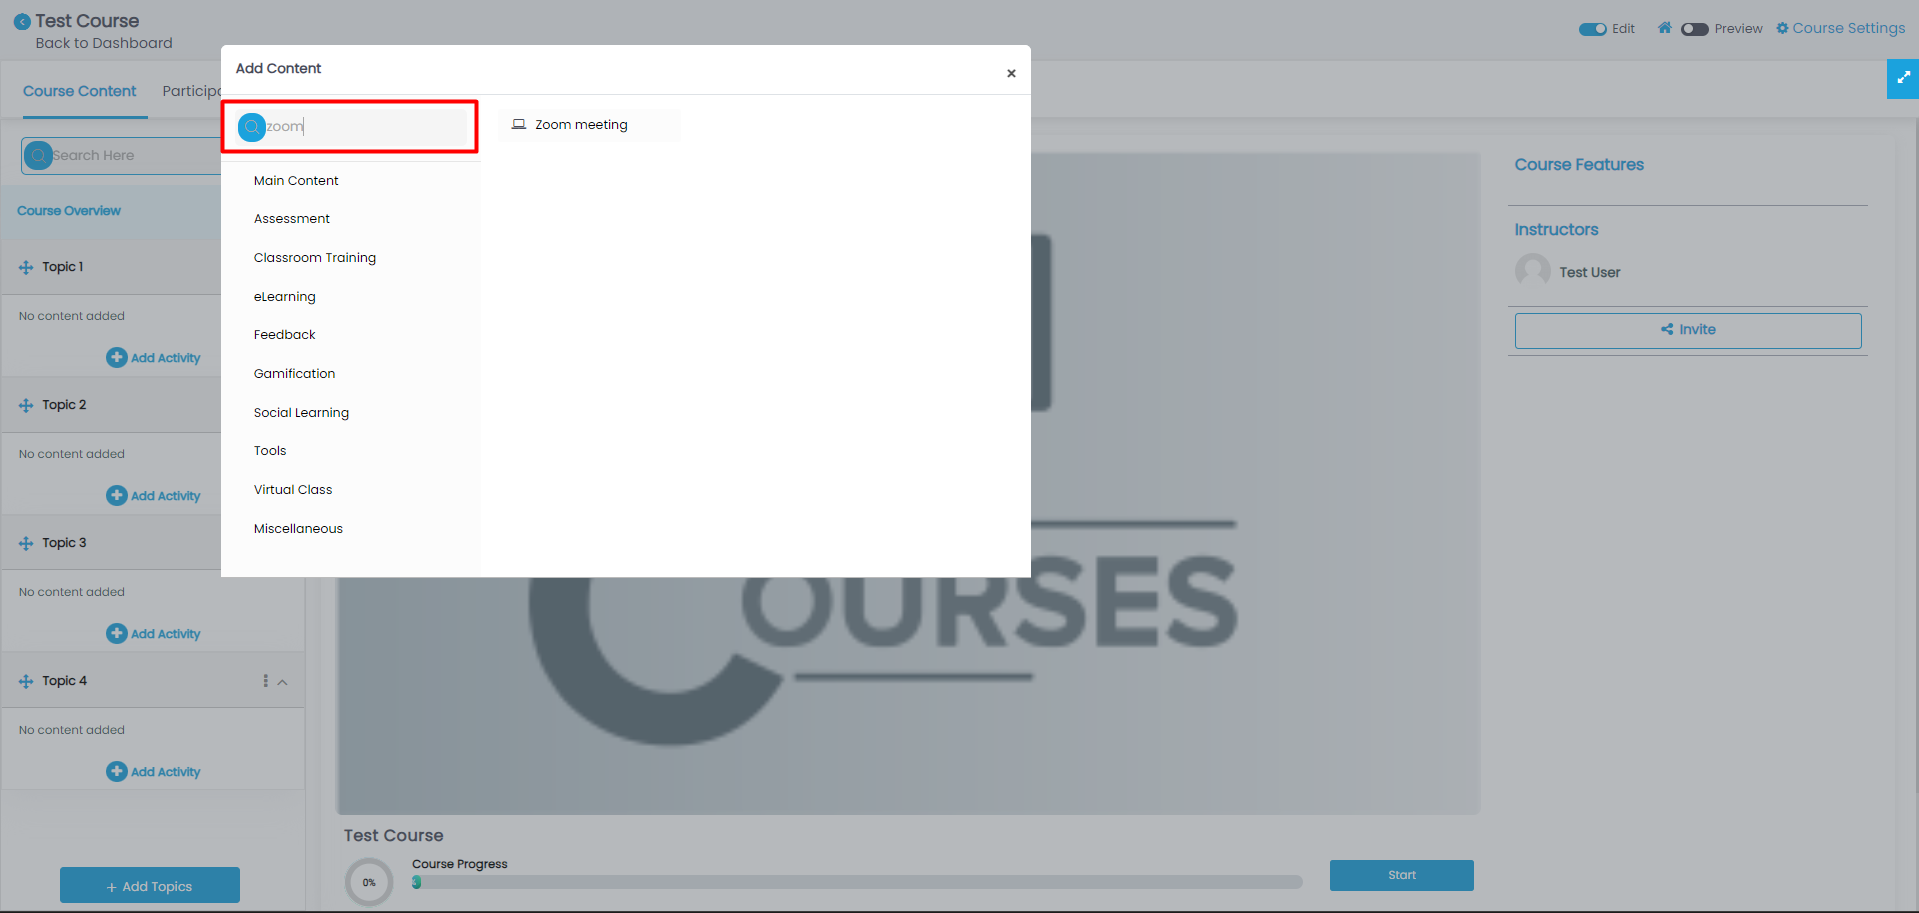
Step 5 : Click on Add Activity button on the left for access to different typed of activities to add to your course.
Step 6 : Under Activities, search for zoom meeting to schedule a meeting or class.
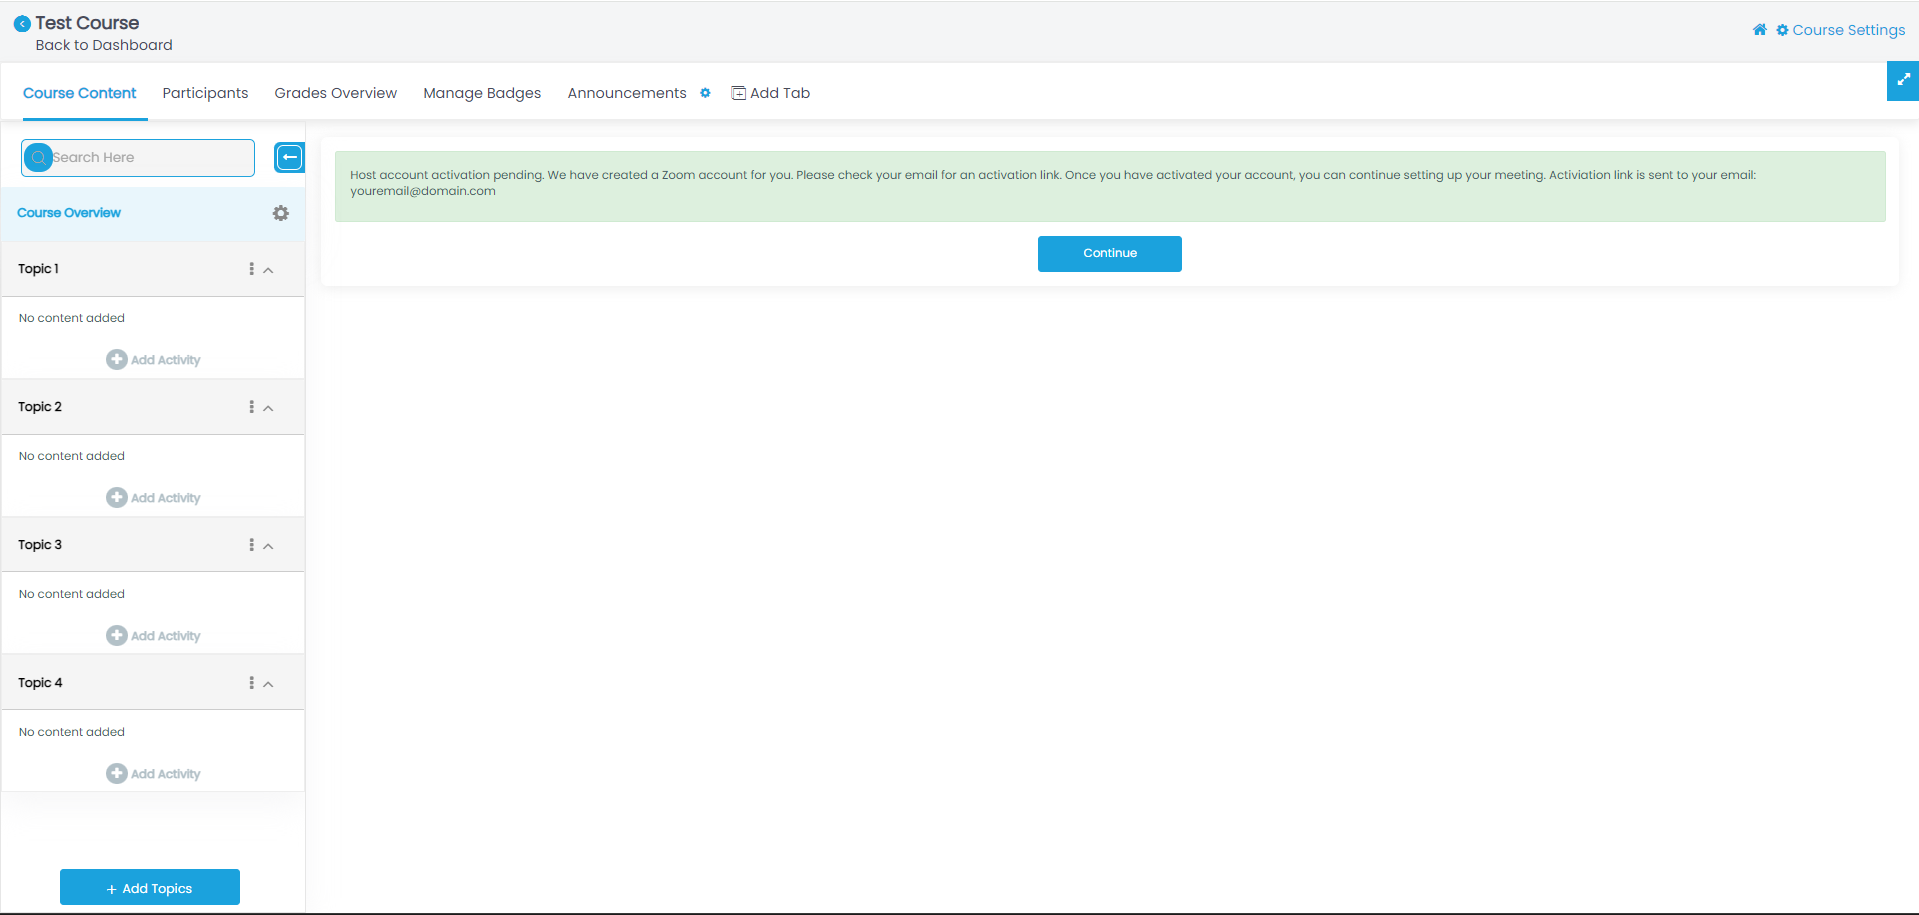
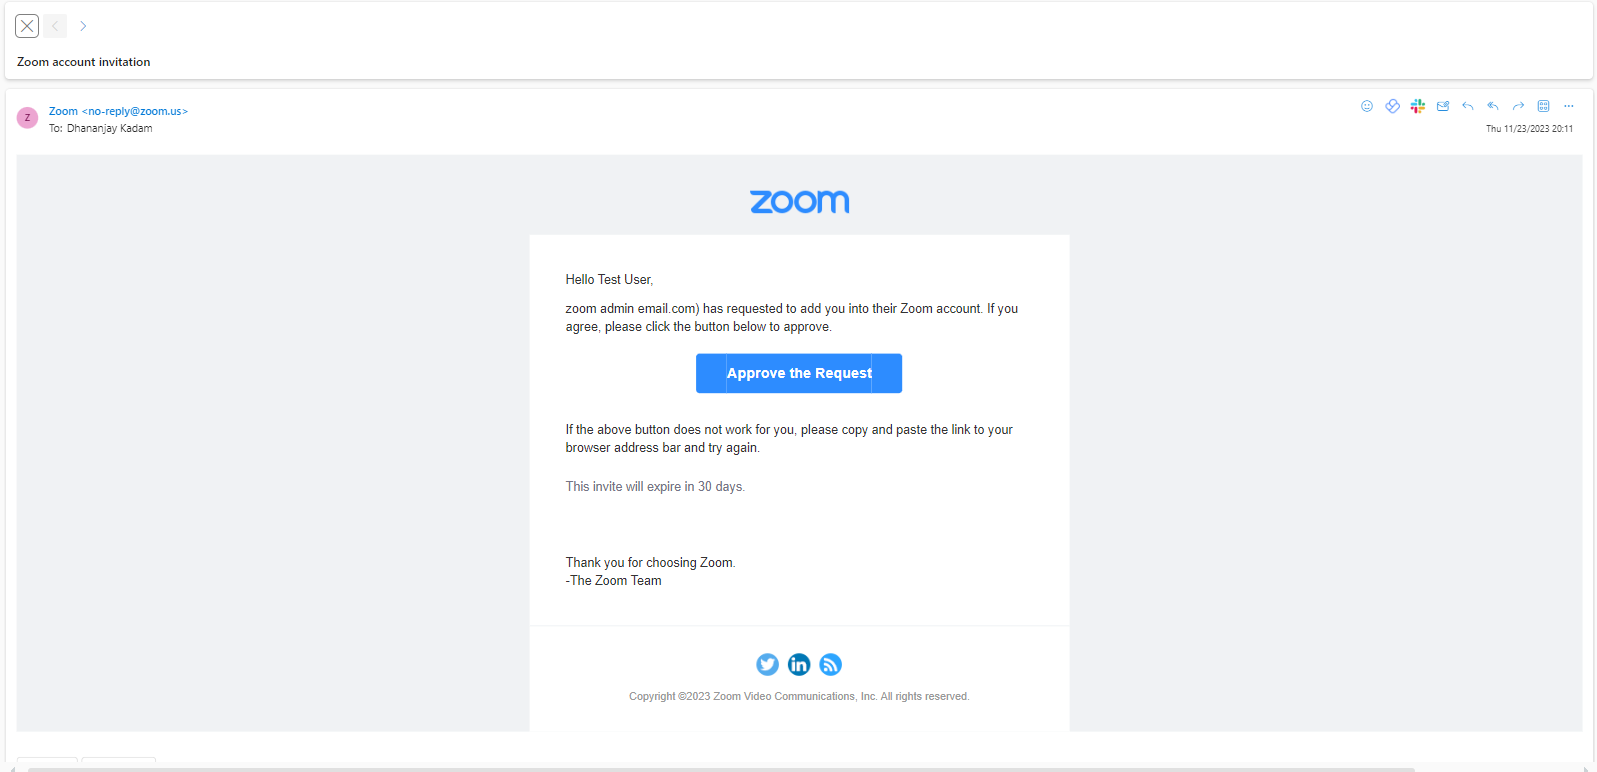
Step 7: Instructor will receive a one-time zoom activation email to activate the zoom feature through MasterNotes.
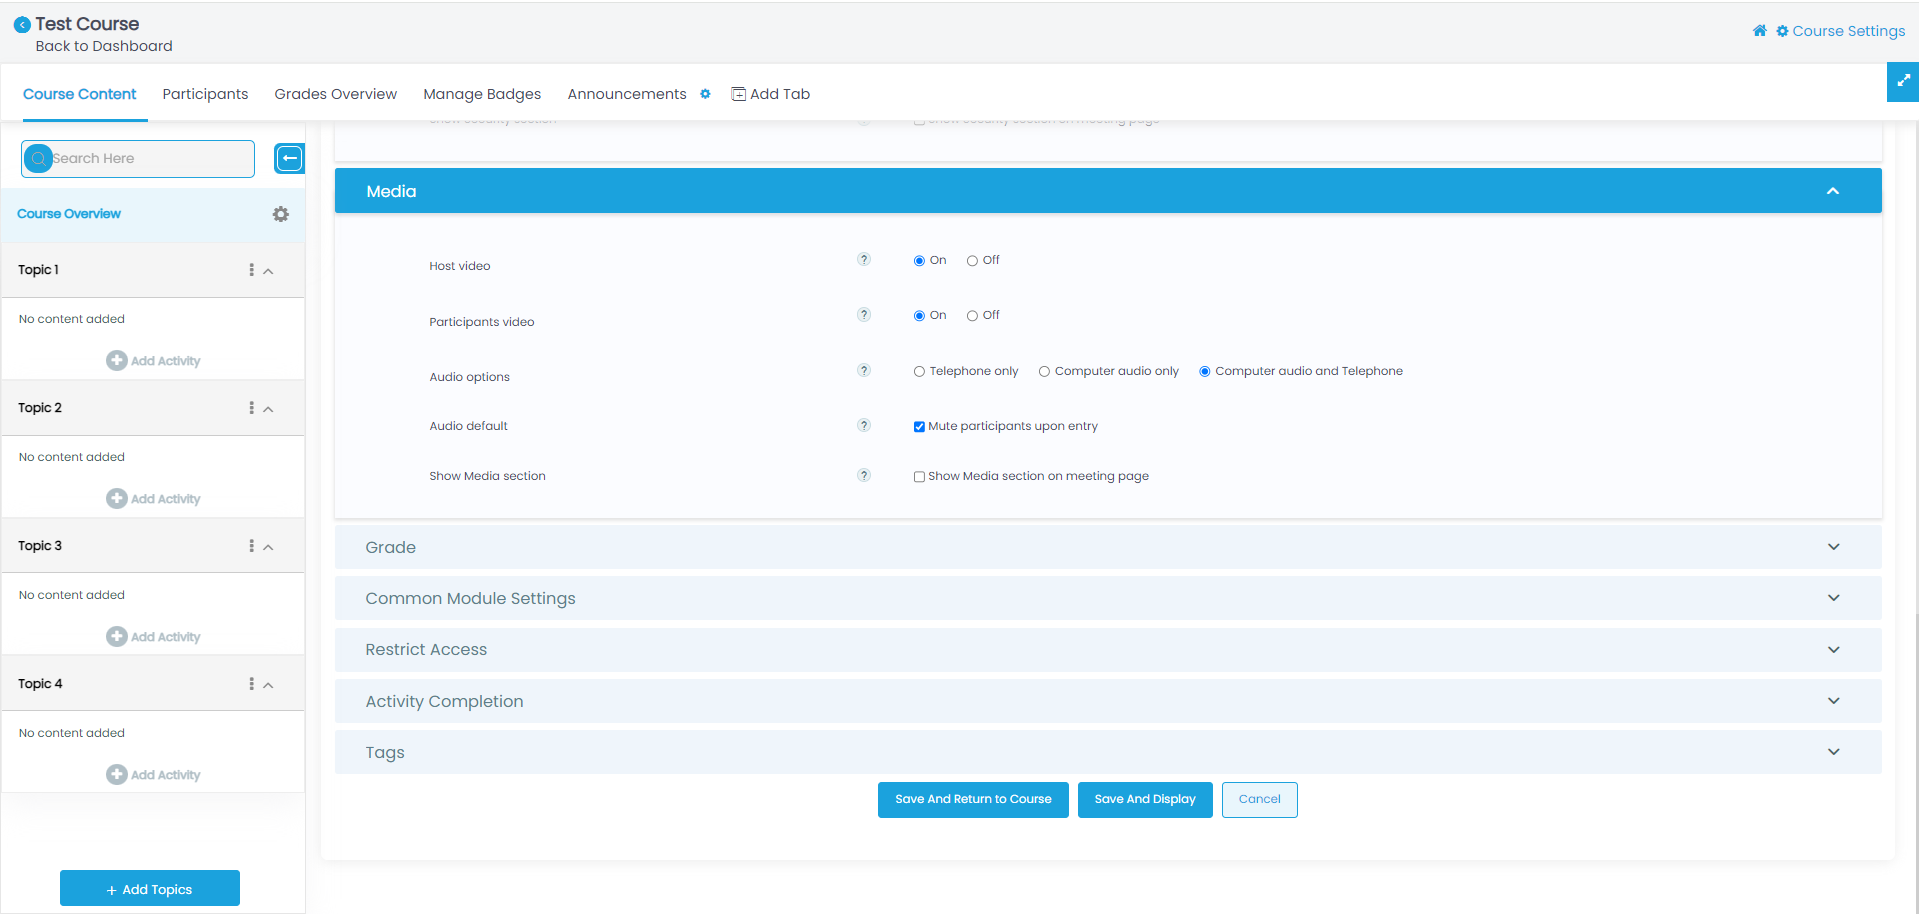
Step 8: Update the zoom information details, set the meeting time then click on the save & display button.
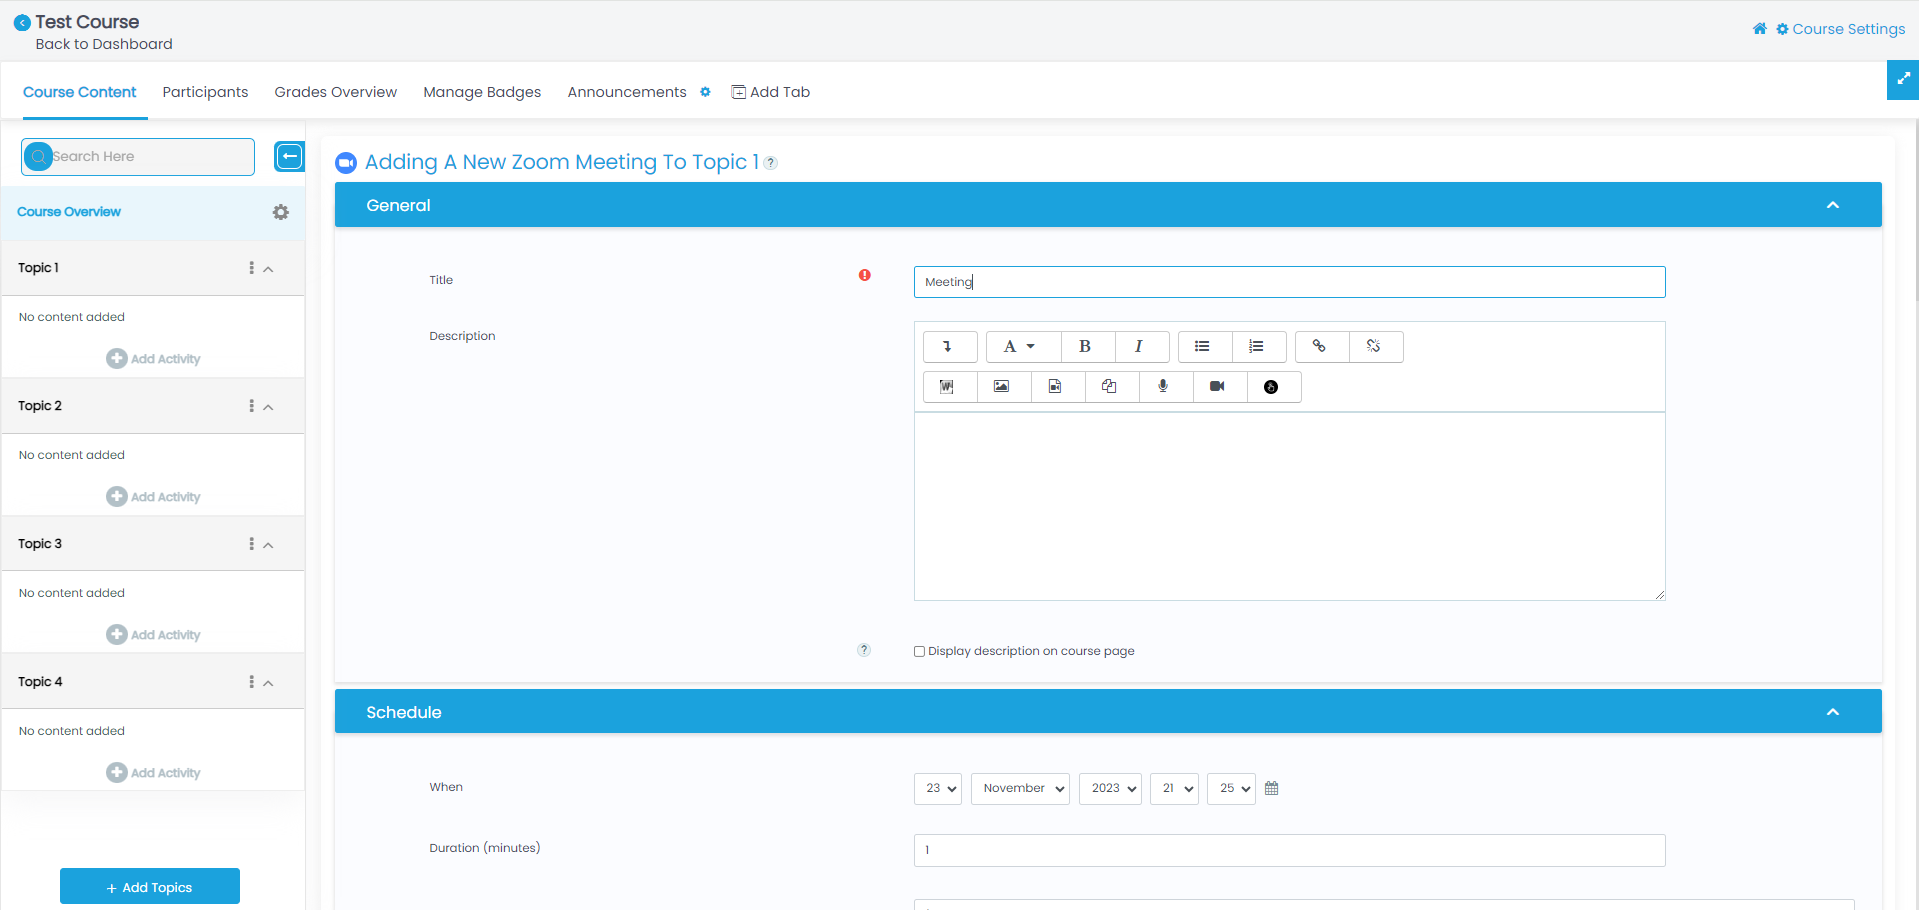
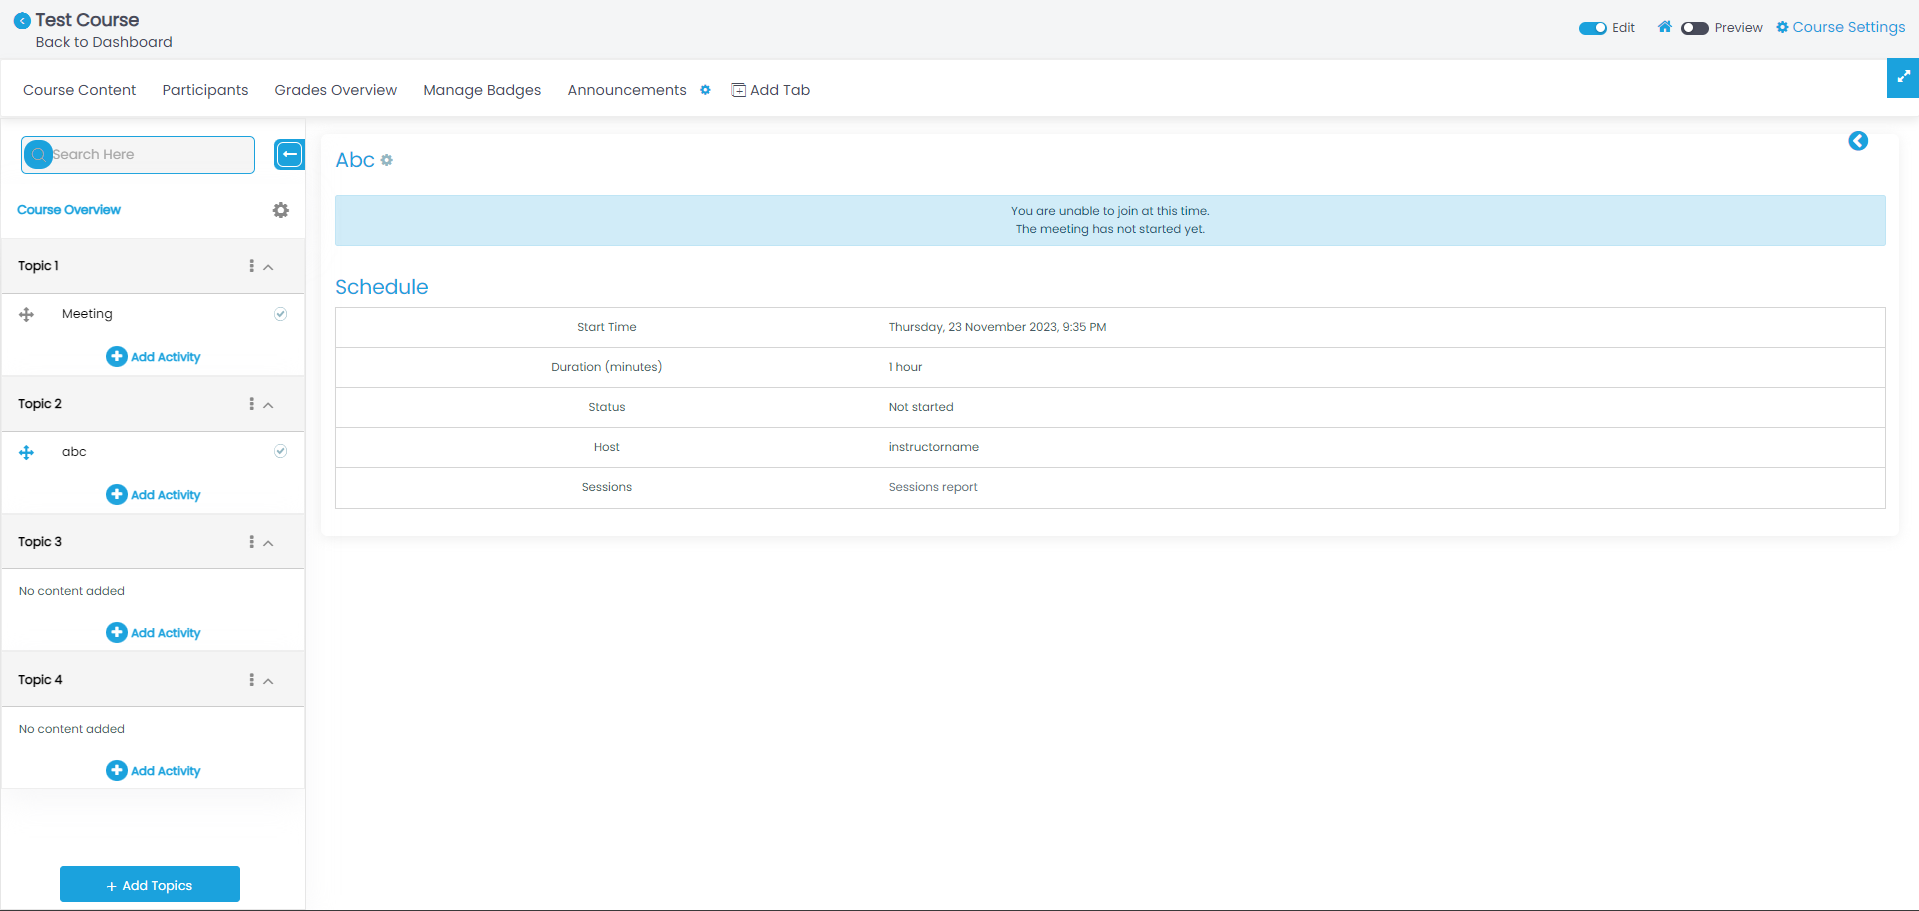
Step 9: The meeting will be scheduled.
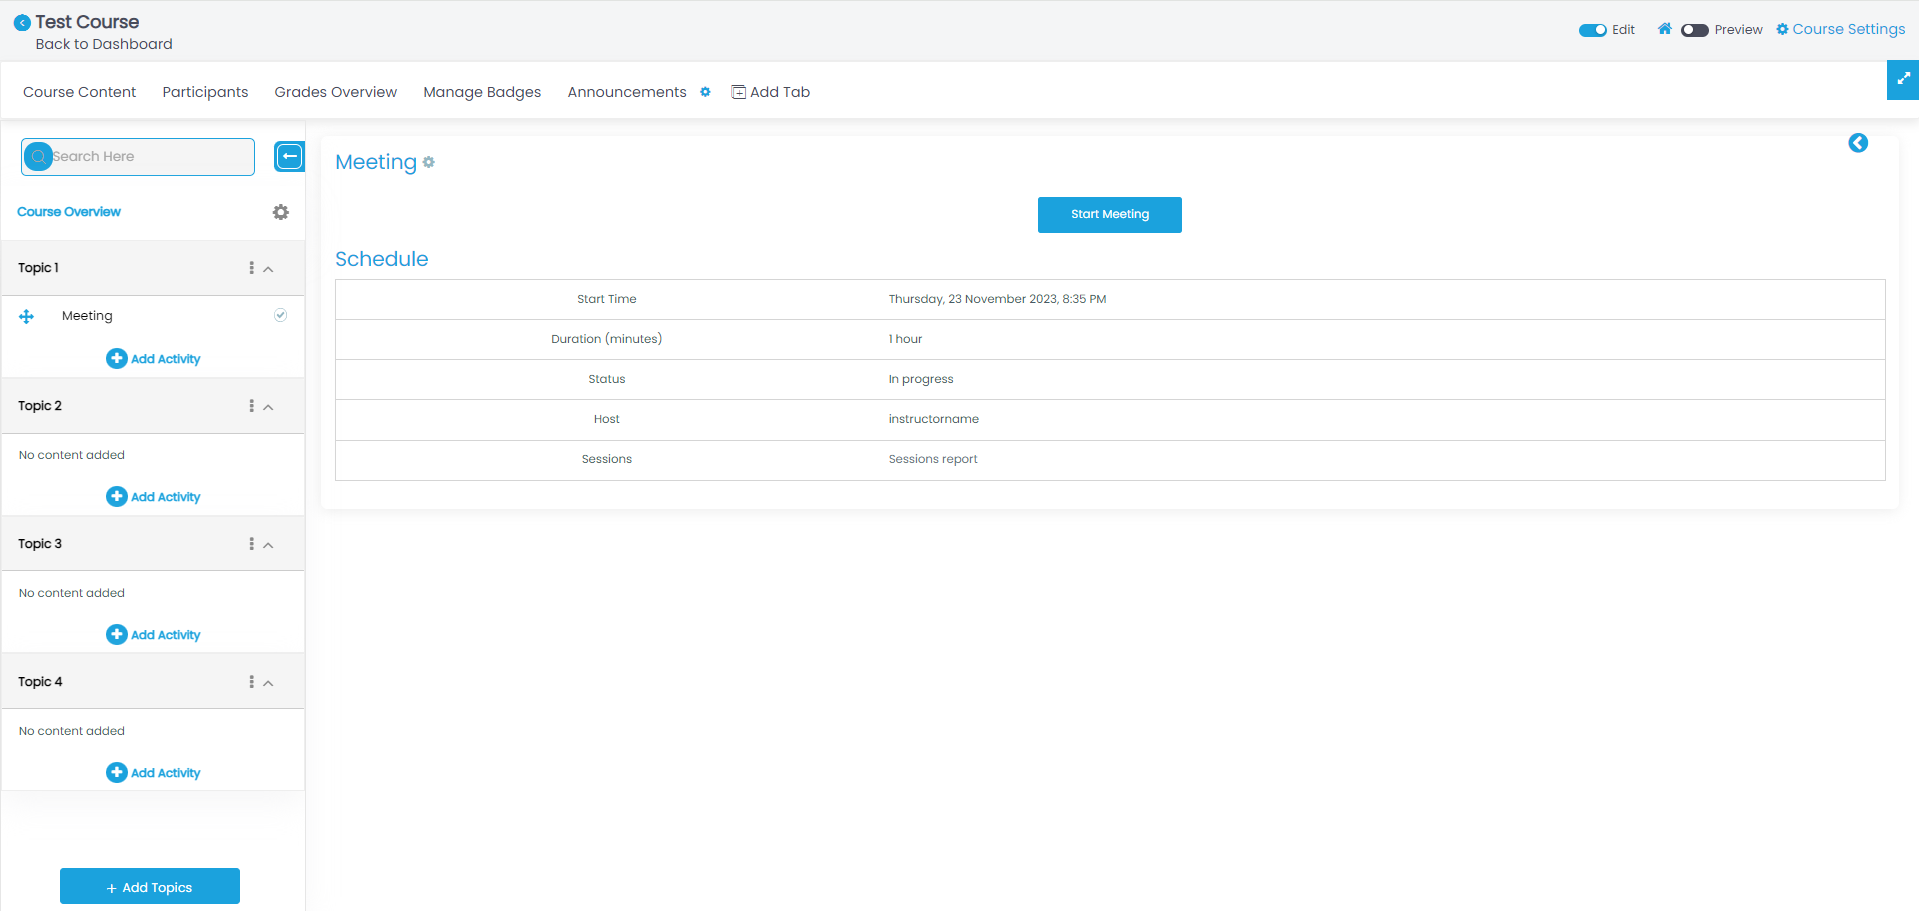
Step 10 : On schduled time Start meeting option will appear on top of the screen .
Click here for Video
Step 1: Contact your instructor to receive a Student Registration form.
Step 2: click on the link provided by your instructor & clarify your age.
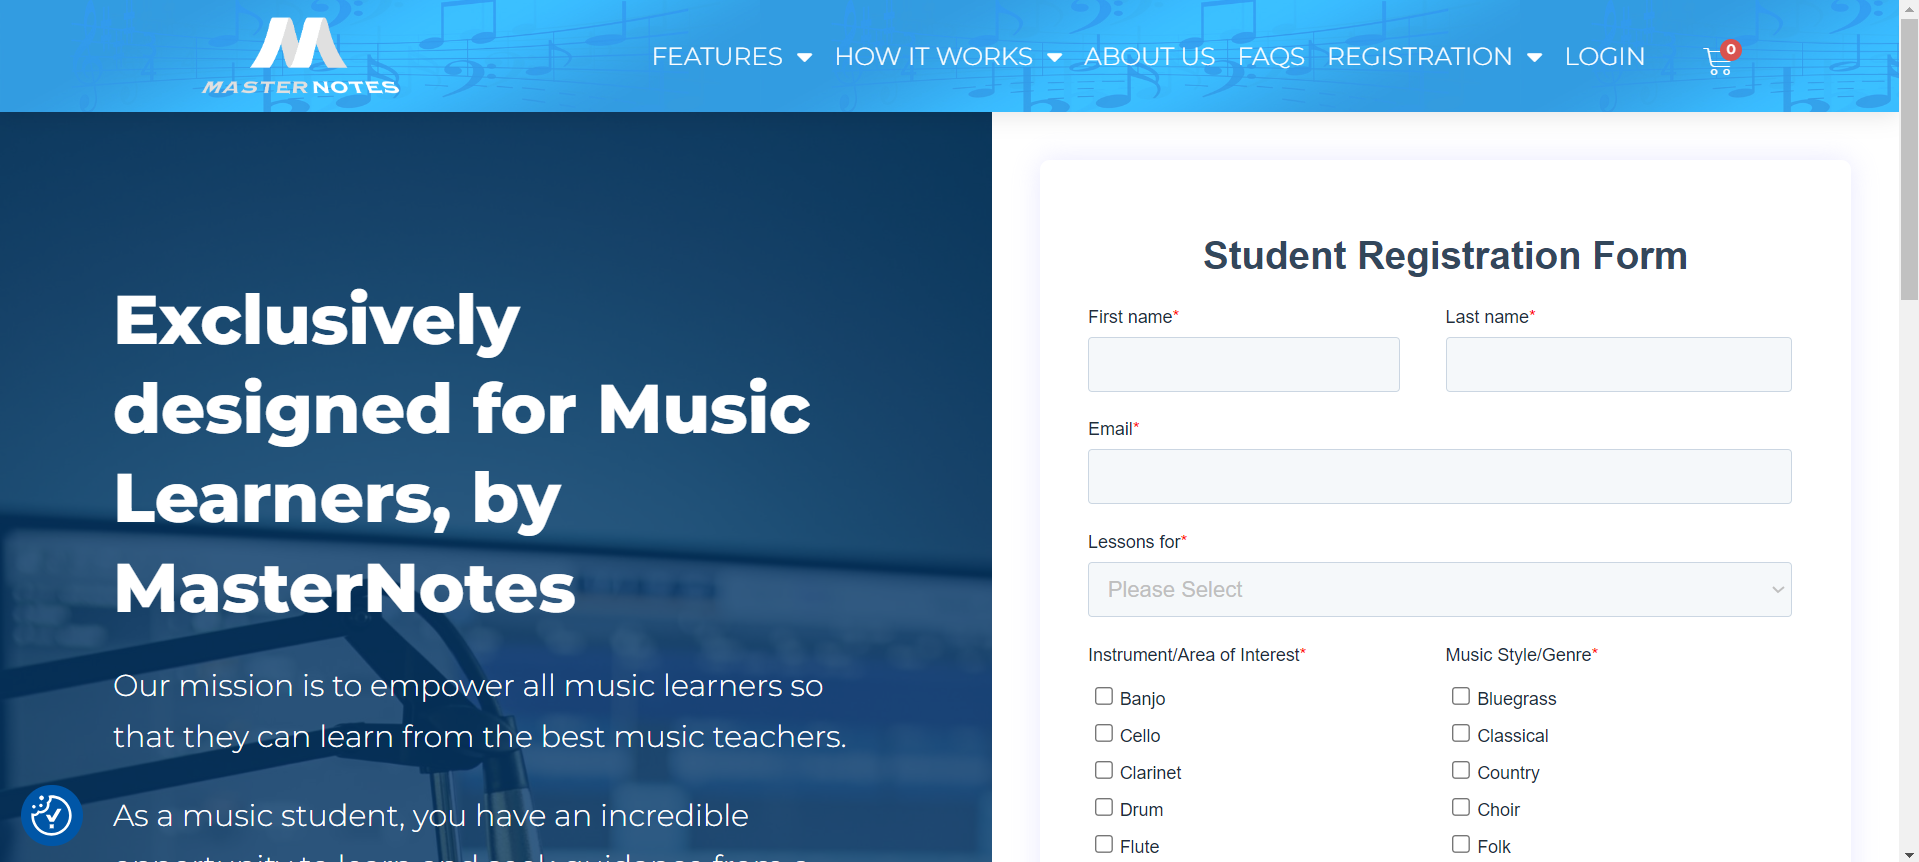
Step 3: If you are over 18 years of age, complete the student registration form.
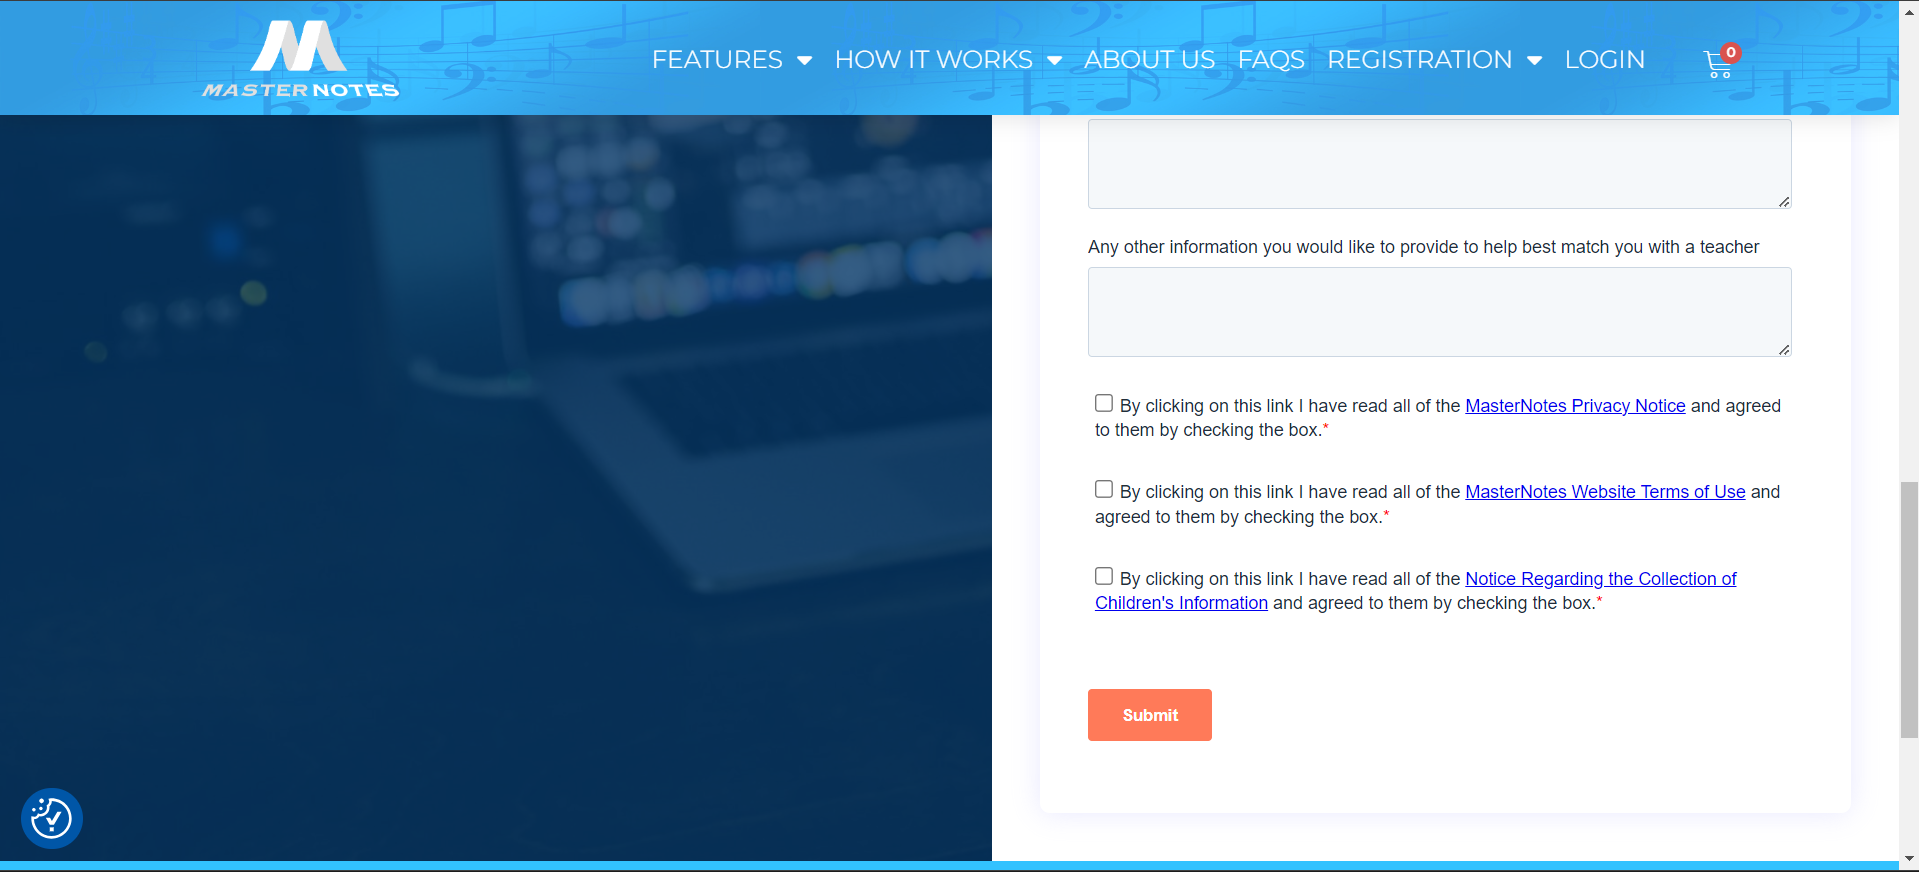
Step 4: Read the MasterNotes Privacy and Terms of Use notices, provide consent if you agree and click Submit.
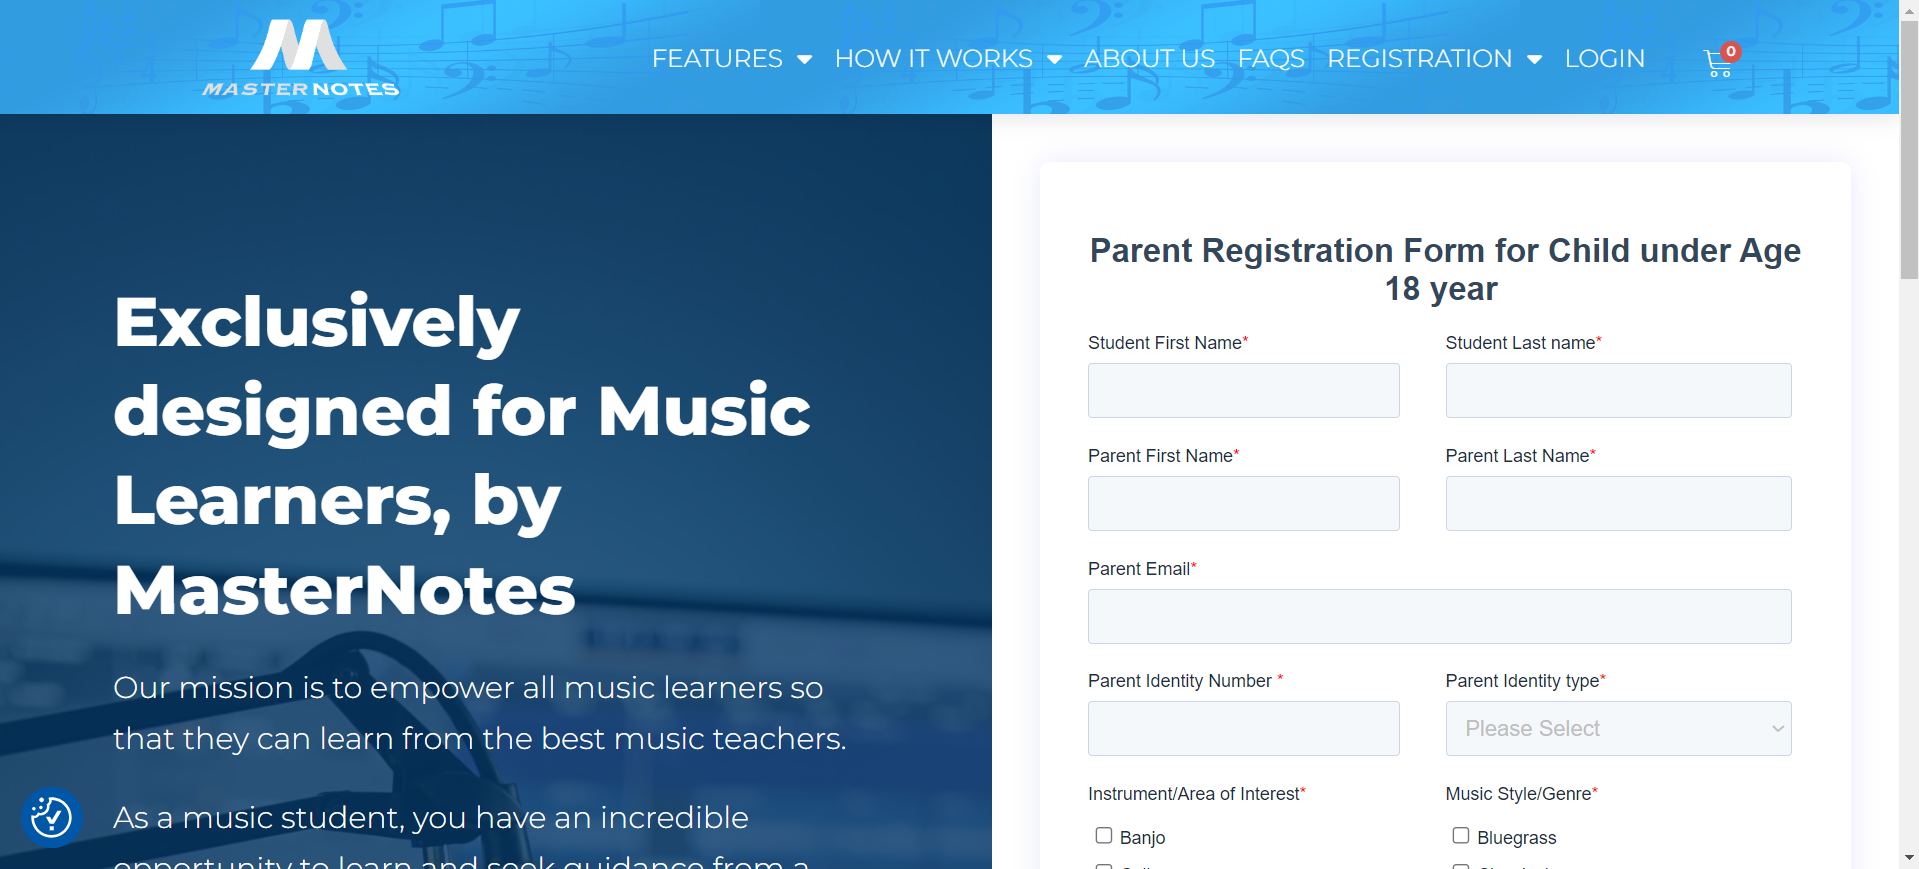
Step 5: If you are under 18 years of age, contact your instructor who will provide a parent/legal guardian registration form.
Step 6: Ask your parent/legal guardian to complete this registration form.
Step 7: Read the MasterNotes Privacy and Terms of Use notices, provide consent if you agree and click Submit.
Click here for Video
Step 1: Login with credentials received in email.

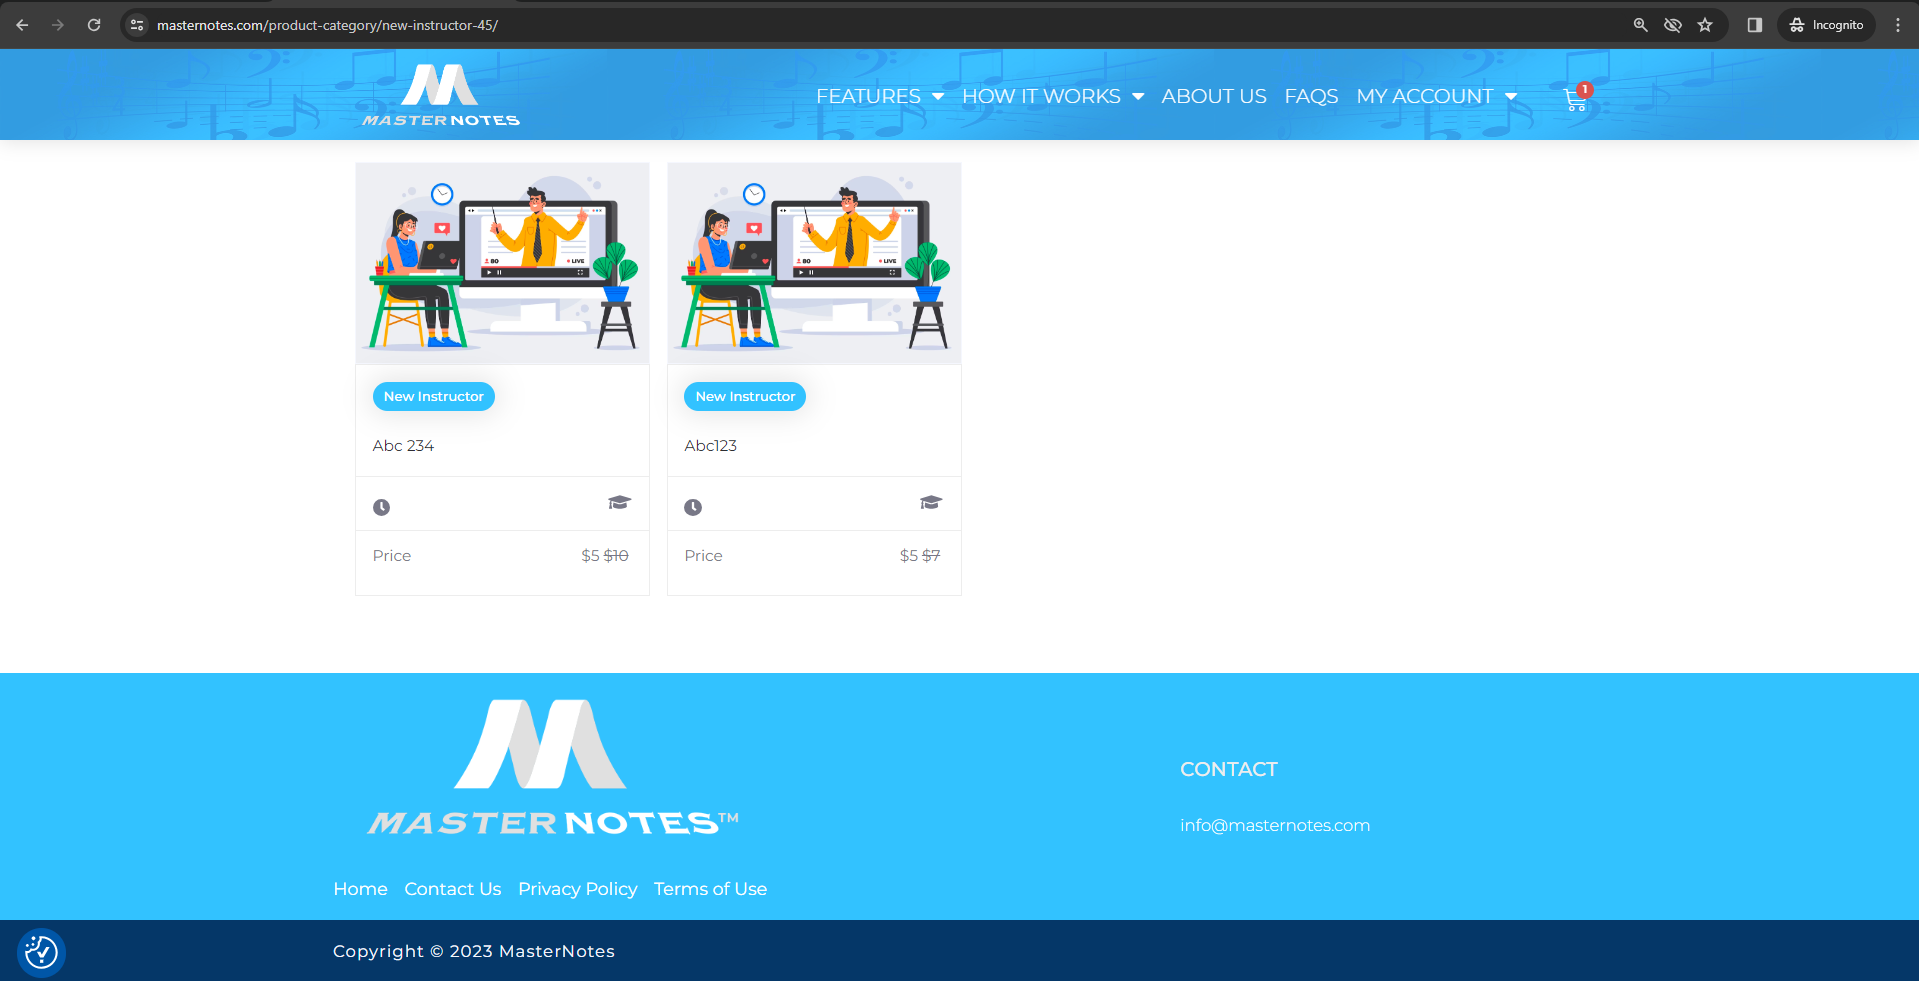
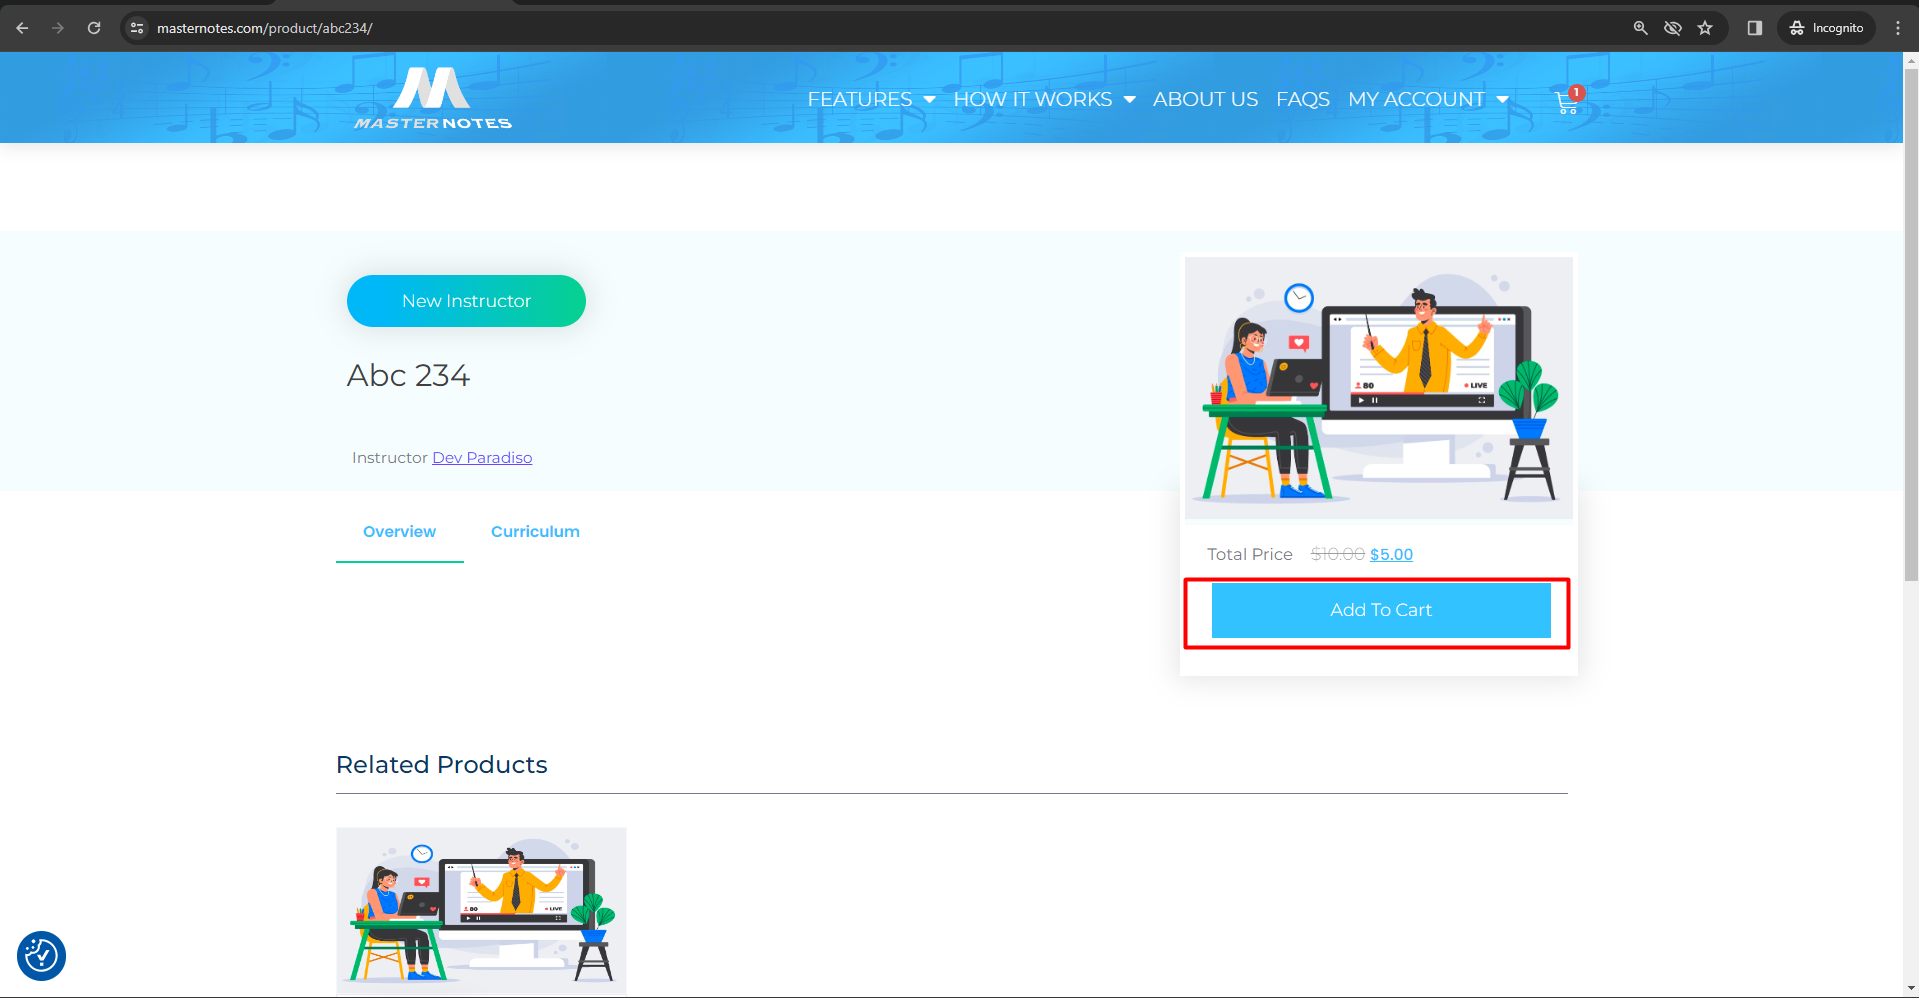
Step 2: Click on link provided by teacher or choose class from instructor class catlog.
Step 3: click on add to cart option.
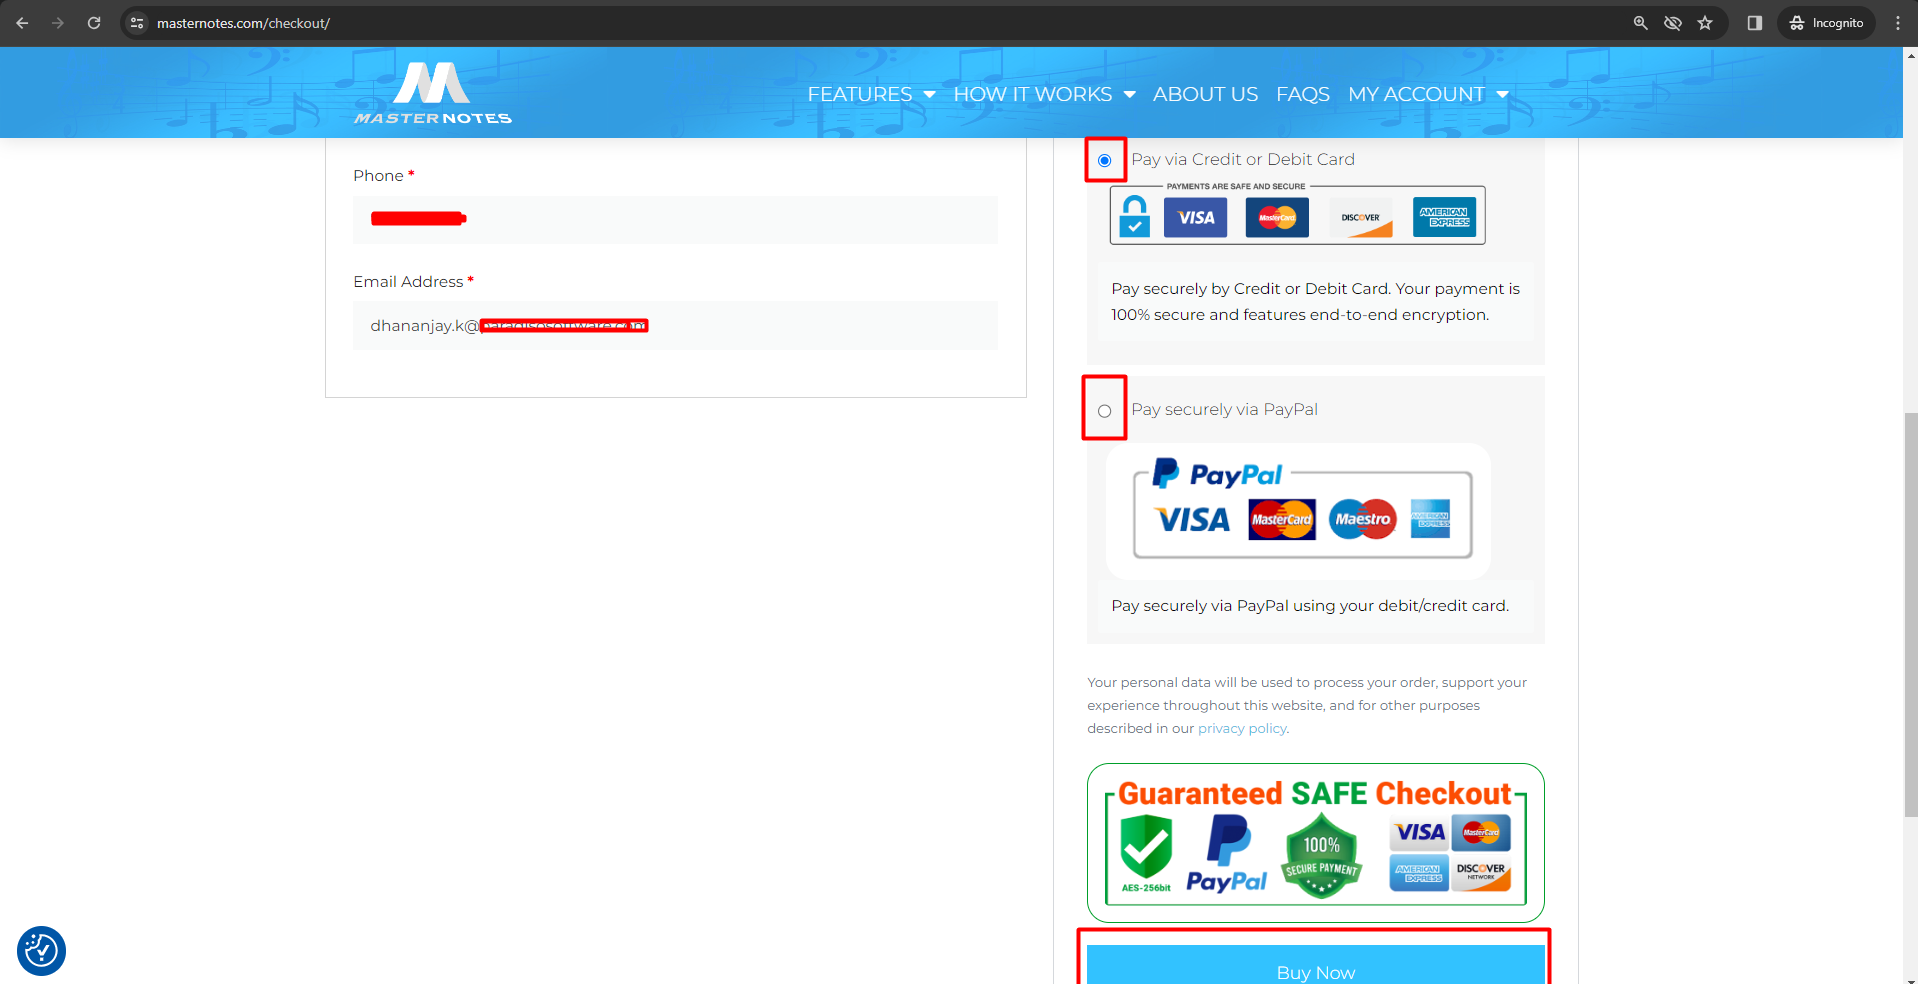
Step 4: Fill the information on checkout page and select payment method for process class payment.
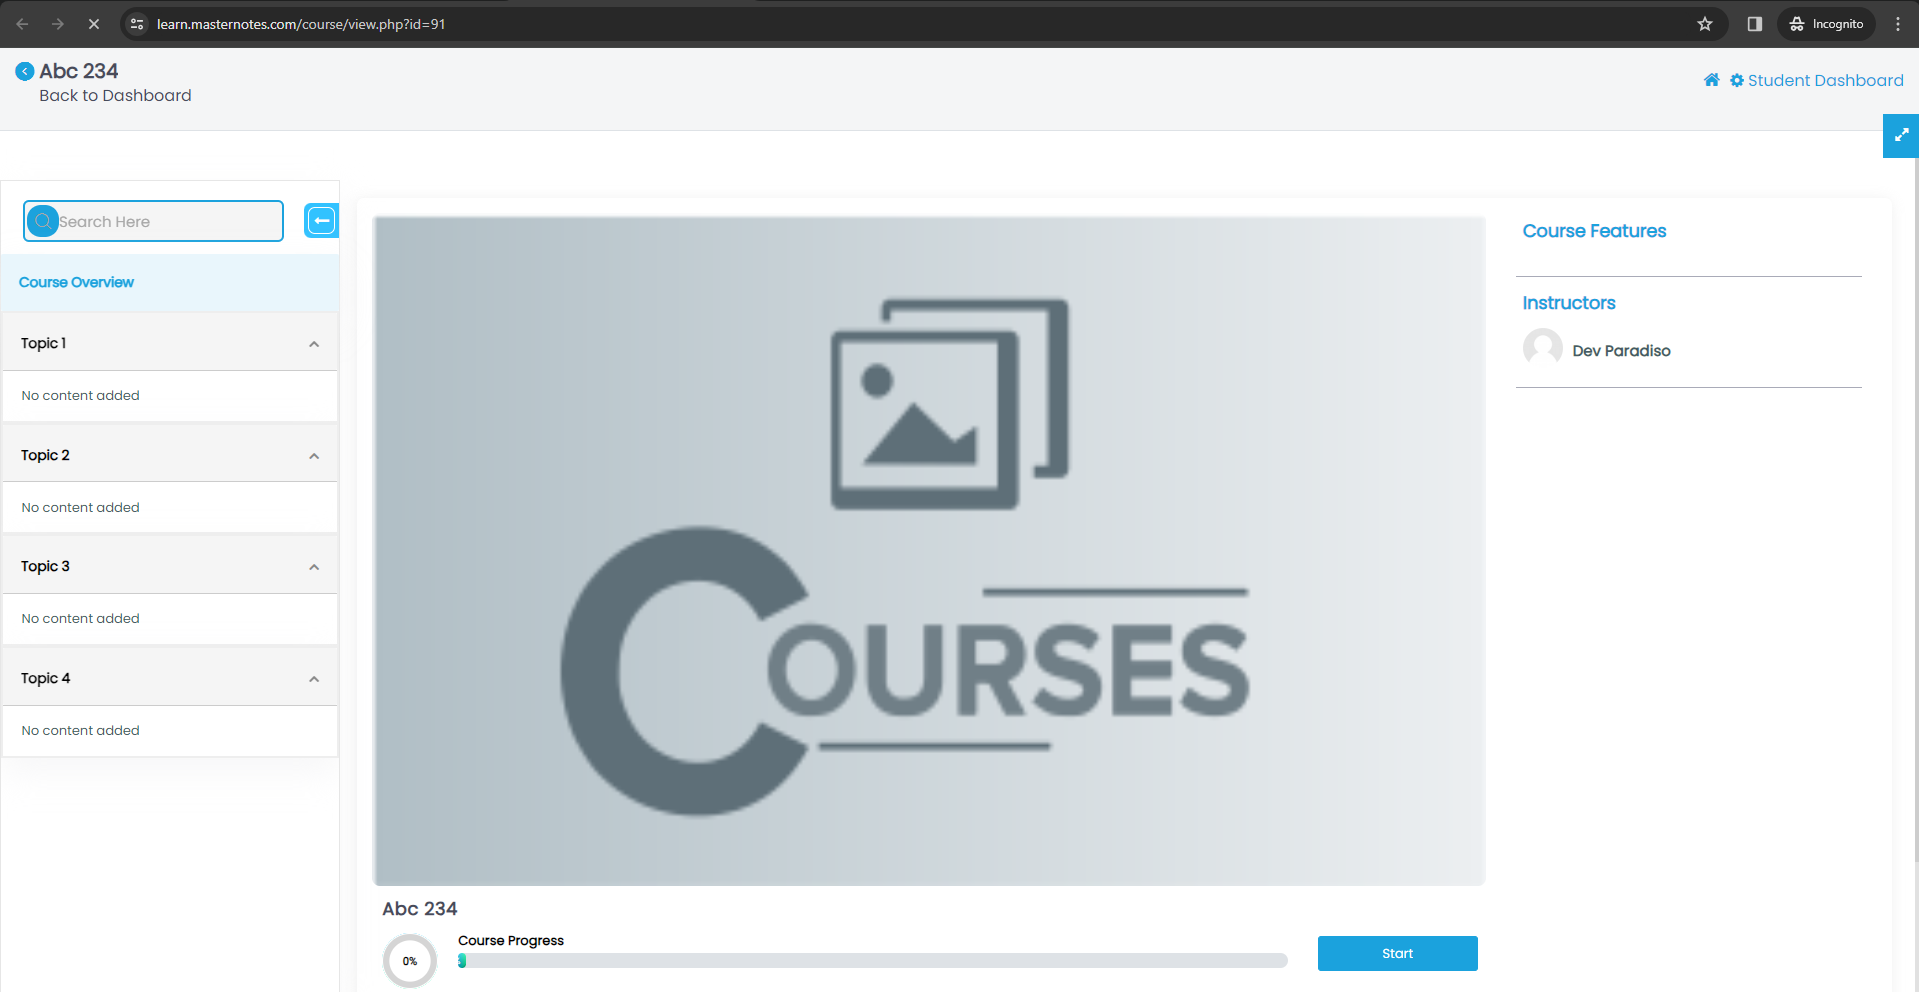
Step 5: After successfull payment completion , student will click on my learning section and access classes using view button.

Step 6: Class is available to access.